
When it comes to powering your home’s lighting, voltage matters more than most homeowners realize. Whether you’re planning a simple outdoor lighting upgrade or a complete landscape redesign, understanding voltage lighting fundamentals can save you time, money, and potential safety headaches. The right voltage system makes the difference between a professional-looking installation you can tackle yourself and an expensive project that requires a licensed electrician. This guide walks you through everything homeowners need to know about voltage lighting, from the basics of how different systems work to practical applications that deliver both function and beauty to your outdoor spaces.
Table of Contents
ToggleKey Takeaways
- Low-voltage lighting systems use transformers to step down 120 volts to 12 volts, making voltage lighting safer for DIY installation without permits or professional electricians.
- Low-voltage systems paired with LED fixtures reduce power consumption to 3–7 watts per fixture compared to 20–50 watts in line-voltage alternatives, delivering significant energy savings.
- Proper planning of your voltage lighting layout—placing high-power spotlights near the transformer and low-power path lights farther away—prevents voltage drop and maximizes performance on a budget.
- Low-voltage landscape lighting requires only four components: a transformer, fixtures, cable, and a power source, making it accessible for homeowners to install in an afternoon.
- Using appropriate cable gauge (12-gauge for runs over 100 feet, 14-gauge for shorter distances) and burying cables 4–6 inches deep protects your system from damage and ensures long-term reliability.
Understanding Voltage Lighting Basics
Standard Household Voltage Explained
Your home runs on 120 volts, the standard electrical service delivered by your utility company to every outlet and switch in the United States. That’s the voltage powering your refrigerator, laptop charger, and living room lamps. Line-voltage lighting systems operate at this same 120-volt standard, meaning they’re hardwired directly into your home’s main electrical system, just like any major appliance. These systems deliver plenty of power but come with full electrical risk, installation typically requires a licensed electrician, proper conduit, weatherproof junction boxes, and compliance with the National Electrical Code (NEC).
Low-Voltage vs. Line-Voltage Systems
Low-voltage systems take a different approach. Instead of running power directly from your house, they use a transformer, a simple device that steps down 120 volts to a much safer 12 volts. This transformer acts as an intermediary between your home’s electrical system and the fixtures themselves. The practical upside is significant: low-voltage systems are safer to install, easier to modify, and far more forgiving if something goes wrong. You can bury cables in shallow trenches, switch fixture positions without rewiring, and install the whole system yourself without pulling permits or hiring specialists.
According to Fine Homebuilding’s guide to low-voltage landscape lighting, transformers allow you to run much thinner, more flexible cable than line-voltage systems require. Line-voltage systems demand rigid conduit and expensive installation labor. Low-voltage cable can snake around trees, tuck along garden borders, and sit in direct burial trenches without the same level of protection. For DIY projects, this flexibility is everything.
Benefits Of Voltage Lighting For Your Home
Energy Efficiency And Cost Savings
Low-voltage lighting systems deliver real savings, especially when paired with LED fixtures. Because the transformer reduces voltage to 12 volts, power consumption drops significantly compared to line-voltage alternatives. LED low-voltage fixtures compound this benefit, they use a fraction of the wattage while producing bright, consistent light. When you combine reduced voltage with LED efficiency, you’re looking at fixture wattages in the 3–7 watt range rather than 20–50 watts.
Smaller transformers also mean smaller, less expensive equipment. A 300-watt transformer costs far less than upgrading your home’s main electrical panel or running heavy gauge wire across your yard. Lower wattage systems reduce voltage drop, the gradual loss of power as electricity travels down long cable runs, which means better performance in larger layouts without needing oversized, expensive transformers. Planning your fixture layout thoughtfully (keeping high-power spotlights near the transformer, low-power path lights farther away) maximizes performance while keeping costs down.
Beyond the equipment itself, low-voltage systems are considered safer because the reduced electrical risk means no shock hazard if someone accidentally nicks a wire or touches a wet fixture. This safety profile opens the door to DIY installation without the insurance and liability concerns of line-voltage work. Low voltage landscape lighting kits have made professional-quality outdoor lighting accessible to anyone willing to spend a Saturday afternoon with basic tools.
Popular Voltage Lighting Applications For DIY Projects
Landscape And Outdoor Lighting
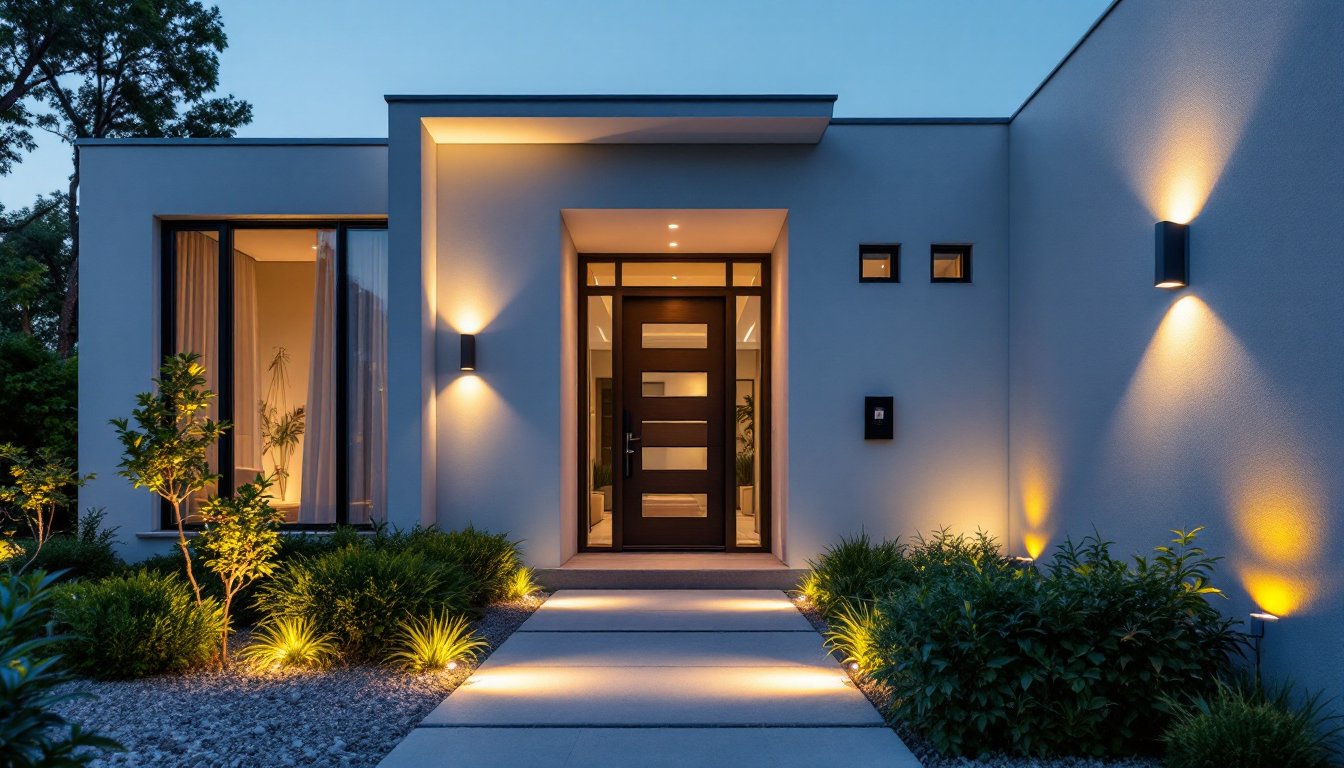
Low-voltage landscape lighting dominates the DIY outdoor lighting market because it’s practical, forgiving, and delivers excellent results. Path lights guide visitors along walkways, garden beds, and driveways using 12-volt fixtures that mount in minutes. Spotlights and floodlights highlight focal points, an attractive shrub, a water feature, architectural detail, with directional control that pure ambient light can’t match. Accent lighting creates drama and depth, layering different fixtures to transform an ordinary yard into an outdoor living space.
The anatomy of a low-voltage landscape lighting system is straightforward: you need a transformer (the power step-down device), fixtures (the lights themselves), cable (the wire carrying power), and a power source (usually a standard outdoor outlet with a timer). The transformer connects to a standard 120-volt outlet, often mounted on the side of your home or in a weatherproof box. From there, thin low-voltage cable radiates out to fixtures buried in shallow trenches or laid along the surface.
Planning matters here. Before buying anything, sketch your yard on paper and mark where you want light. Calculate total wattage by adding up each fixture’s power draw, a typical path light uses 3–5 watts, spotlights use 8–12 watts. Your transformer needs to handle the total load. For larger systems, running multiple cable “runs” from the transformer prevents voltage drop: instead of one long cable with 30 fixtures on it, you might run two shorter lines with 15 fixtures each. Commercial low voltage landscape lighting uses this exact principle at scale, proving the method works for any size yard.
Cable gauge matters too. Use 12-gauge or heavier cable for runs longer than 100 feet: anything shorter can use 14-gauge. Bury cables 4–6 inches deep to protect them from shovels and mowers. During installation, test fixtures individually before burying cable to catch any wiring mistakes early, it’s far easier to troubleshoot above ground. Once you’re confident everything works, bury the cable, set your timer, and enjoy a professionally lit landscape without the professional electrician bill.


