
Most landscape lighting kits include a transformer, but few homeowners understand what it does or how to size it correctly. That confusion leads to dim lights, overheated units, and fixtures that flicker every time the wind blows. An outdoor lighting transformer steps down standard household voltage (120V) to the safe, low-voltage power (typically 12V or 24V) that runs path lights, spotlights, and deck fixtures. Getting the transformer right means the difference between a system that lasts a decade and one that fails in two seasons.
Table of Contents
ToggleKey Takeaways
- An outdoor lighting transformer safely steps down 120V household voltage to 12V or 24V, making landscape lighting safer to install and more efficient than line-voltage systems.
- Calculate your transformer size by totaling fixture wattage and multiplying by 1.25, then round up to account for future expansion and real-world conditions.
- Choose transformers with multiple voltage taps (12V, 13V, 14V, 15V) to compensate for voltage drop on longer wire runs and eliminate dimming issues without upgrading wiring.
- Quality outdoor lighting transformer features include weatherproof NEMA 3R housing, built-in timers or photocells, thermal protection, and at least a 3-year warranty.
- Dim or flickering lights typically indicate undersized wire, corroded connections, or voltage drop—measure voltage at fixtures and adjust transformer taps or rewire to resolve the issue.
- Never run an outdoor lighting transformer above 80% of its rated capacity to prevent overheating and ensure long-term system reliability.
What Is an Outdoor Lighting Transformer and Why Do You Need One?
An outdoor lighting transformer converts your home’s standard 120-volt AC power to 12V or 24V DC/AC, which is what most landscape lighting fixtures require. This voltage reduction serves two critical purposes: safety and compatibility.
First, low-voltage systems are far safer to work with. A 12V shock won’t seriously harm someone who accidentally cuts a wire while edging the lawn, something that can’t be said for line voltage. That’s why most residential landscape lighting runs on low voltage, and why building codes rarely require permits or licensed electricians for these installations (though always verify local requirements).
Second, low-voltage bulbs are more efficient and produce less heat than their 120V counterparts. LED fixtures designed for 12V systems draw minimal power while delivering excellent brightness and color rendering. Without a transformer, you’d need separate circuits, conduit burial at code-mandated depths, and GFCI protection at every outlet, a much costlier and more complex installation.
Transformers also provide a central control point. Many units include photocells (automatic dusk-to-dawn operation), timers, and even WiFi connectivity for smartphone control.
How Outdoor Lighting Transformers Work
Inside the weatherproof housing, a transformer uses electromagnetic induction to step down voltage. The primary coil connects to your 120V household circuit: the secondary coil outputs 12V or 24V to the landscape lighting wiring. Most outdoor transformers use a toroidal or EI-core design, which is more efficient and generates less heat than older linear designs.
The transformer’s wattage rating (measured in volt-amps or VA) determines how many fixtures it can power. A 300-watt transformer can handle up to 300 watts of connected load, though you should never run it at full capacity. Manufacturers recommend loading transformers to 80% of rated capacity to prevent overheating and voltage drop.
Many quality transformers include multiple taps, output terminals at slightly different voltages (typically 12V, 13V, 14V, and 15V). This lets you compensate for voltage drop on longer wire runs. Fixtures at the end of a 100-foot cable run might receive only 10.5V if connected to the 12V tap, causing them to dim. Connecting that run to the 15V tap compensates for the loss, delivering closer to 12V at the fixture.
Some transformers output AC (alternating current), while others provide DC (direct current). Most LED fixtures work with either, but always verify compatibility. Magnetic transformers (older, heavier) output AC: electronic transformers (newer, lighter) can output either.
Choosing the Right Transformer Size for Your Landscape
Undersizing a transformer causes dim lights, shortened bulb life, and potential burnout. Oversizing wastes money but doesn’t harm anything. The trick is finding the sweet spot.
Start by inventorying your fixtures. Count each light and note its wattage. Modern LED landscape lights typically draw 3-7 watts per fixture, while older halogen units pull 20-50 watts. If you’re upgrading from halogen to LED, don’t assume you need the same transformer size, your power requirements may drop by 70%.
Calculate total connected load, then add 20-30% for future expansion. If you have 15 fixtures at 5 watts each (75 watts total), a 100-watt transformer would be adequate for the current setup but leaves no headroom. A 150-watt or 200-watt unit provides room to add lights later without replacing the transformer.
Consider wire run length. Long runs create voltage drop, which reduces effective brightness. A 14-gauge wire run longer than 100 feet may require upgrading to 12-gauge wire or splitting the circuit into multiple shorter runs from different transformer taps. Manufacturers like those reviewed for quality outdoor systems often publish voltage-drop charts in their documentation.
Calculating Your Total Wattage Requirements
Use this formula: (Number of Fixtures × Wattage per Fixture) × 1.25 = Minimum Transformer Wattage
For example:
- 8 path lights at 4W = 32W
- 4 spotlights at 7W = 28W
- 2 deck lights at 5W = 10W
- Total: 70W × 1.25 = 87.5W minimum
In this case, a 100W or 150W transformer would work, with the 150W providing better expansion capacity. If you plan to add holiday lights or additional zones, step up to 200W or 300W.
Always round up, never down. Transformer wattage ratings assume ideal conditions, cool ambient temperatures, short wire runs, and 120V input. Real-world conditions rarely match the lab.
Key Features to Look for in a Quality Transformer
Not all transformers are created equal. Budget units sold at big-box stores often lack the features and durability that ensure long-term performance.
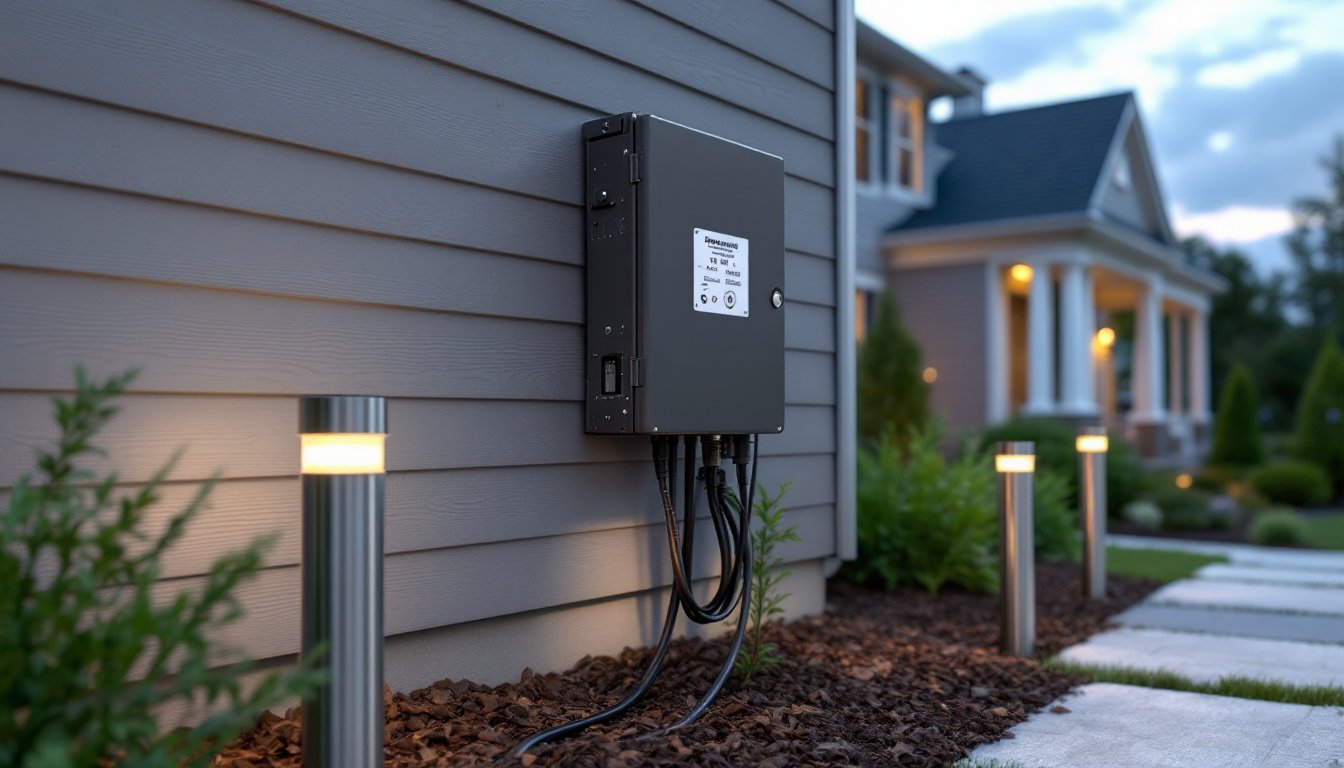
Weatherproof housing is non-negotiable. Look for a NEMA 3R rating minimum, which means the unit can withstand rain and sleet. Stainless steel or powder-coated aluminum housings outlast plastic. The unit should mount securely to an exterior wall near a GFCI-protected outlet, never bury a transformer or mount it where water pools.
Multiple taps (12V, 13V, 14V, 15V) let you dial in the correct voltage for each wire run. This single feature solves most dimming and brightness-inconsistency problems without upsizing wire or moving fixtures.
Built-in timers and photocells eliminate the need for separate controls. Mechanical timers are reliable but inflexible: digital timers offer multiple on/off cycles and seasonal adjustments. Photocells turn lights on at dusk and off at dawn automatically, essential if you travel frequently.
Look for thermal and short-circuit protection. Quality units shut down if they overheat or detect a wiring fault, then reset automatically once the problem clears. Cheaper transformers lack these safeguards and can fail catastrophically.
If you’re planning a larger system, consider transformers with WiFi or Bluetooth connectivity. Smart transformers integrate with home automation platforms, allowing voice control and scheduling through apps. Professional-grade lighting solutions often include these features as standard.
Finally, check the warranty. Reputable manufacturers back their transformers with 3-5 year warranties. A 90-day warranty suggests the unit won’t survive a full season.
Installing Your Outdoor Lighting Transformer: A Step-by-Step Overview
Before touching any wiring, kill power at the breaker. Use a non-contact voltage tester to verify the outlet is dead. Wear safety glasses and work gloves, especially when drilling mounting holes.
Step 1: Choose a mounting location within 2 feet of a GFCI-protected outlet, at least 12 inches above ground level. The transformer should be accessible for maintenance but out of the way of lawn equipment and foot traffic. Exterior garage walls or near deck posts work well.
Step 2: Mount the transformer to the wall using the included brackets and corrosion-resistant screws (stainless steel or coated). Most units have keyhole slots or dedicated mounting tabs. Ensure the housing is level and the cable entry points face downward to shed water.
Step 3: Run your low-voltage cable from the transformer to the first fixture. Use direct-burial landscape wire rated for wet locations, typically 12-gauge or 14-gauge, depending on your run length and load. Bury cable 6-8 inches deep in a shallow trench, avoiding areas where you’ll drive stakes or dig in the future.
Step 4: Connect fixtures according to the manufacturer’s wiring diagram. Most use quick-connect terminals or wire nuts. Strip 1/2 inch of insulation, insert wires, and tighten. Stagger connections along the cable run rather than daisy-chaining all fixtures in sequence, this reduces voltage drop.
Step 5: Connect the low-voltage cable to the transformer’s output terminals. Match polarity if using DC (+ to +, – to -). For AC transformers, polarity doesn’t matter. Tighten terminal screws firmly but don’t overtighten and strip the threads.
Step 6: Plug the transformer into the GFCI outlet and restore power at the breaker. Test each fixture. If some are dim, check connections and consider moving that run to a higher voltage tap.
Many homeowners find that detailed outdoor lighting installation guides help clarify the wiring layout before they start digging.
Permit requirements: Most jurisdictions don’t require permits for low-voltage landscape lighting, but any work on the 120V circuit (adding or moving the GFCI outlet) does require one. When in doubt, call your local building department.
Troubleshooting Common Transformer Issues
Lights won’t turn on: First, confirm the transformer is receiving 120V power, check the outlet with a voltage tester and verify the GFCI hasn’t tripped. If the transformer hums but lights don’t come on, check the photocell (cover it to trick it into “night” mode) or timer settings. A completely silent transformer with no indicator lights likely has a blown internal fuse or tripped breaker: consult the manual for reset procedures.
Lights are dim or flickering: This usually points to voltage drop from undersized wire, connections corroded by moisture, or overloading. Measure voltage at the fixture with a multimeter, it should read 11.5V-12.5V for a 12V system. If it’s below 11V, move that run to a higher tap on the transformer, upgrade to heavier-gauge wire, or split the circuit into two shorter runs.
Some lights bright, others dim: Uneven brightness across a single run indicates voltage drop increasing with distance from the transformer. Use the voltage-tap adjustment, or rewire so fixtures farthest from the transformer are on a separate, higher-voltage tap. Alternatively, use a “hub” method: run a home-run cable from the transformer to the center of your layout, then branch out in shorter spokes.
Transformer is hot to the touch: Some warmth is normal, but if the housing is too hot to hold your hand on for 5 seconds, it’s overloaded or failing. Disconnect half the fixtures and see if temperature drops. If the problem persists with reduced load, the transformer may have an internal short and should be replaced.
Photocell not working: Make sure the sensor isn’t obstructed by leaves or dirt, and that it’s not pointed at another light source (porch light, street light). Some photocells fail after years of sun exposure, they’re replaceable on most quality transformers.
For chronic issues, check connections at each fixture. Corrosion inside wire nuts or quick-connects creates resistance, causing heat and voltage loss. Applying dielectric grease to connections during installation prevents this. Many experienced DIYers and pros recommend annual inspection of all connections, especially in humid climates.
If you’ve ruled out wiring and settings, and the transformer still underperforms, it may simply be undersized for your actual load. Upgrading to the next wattage tier often solves persistent problems without any other changes.


