
Stringing outdoor lights transforms a plain backyard into an inviting retreat perfect for evening gatherings, dinners, and quiet moments. Whether you’re planning a summer party or creating permanent ambient lighting, stringing outdoor lights doesn’t require a licensed electrician or extensive experience. With the right materials, a solid plan, and careful installation, any homeowner can achieve professional-looking results. This guide walks you through selecting the right lights, planning your layout, and installing them safely so your outdoor space looks polished and feels magical after dark.
Table of Contents
ToggleKey Takeaways
- LED outdoor string lights last 25,000+ hours and use 80% less energy than incandescent options, making them the most cost-effective choice for long-term outdoor lighting.
- Always measure your space and add 10–15 feet for slack and anchor adjustments before selecting string light length to ensure proper drape and stress relief on anchor points.
- Strong anchor points like wood posts, pergola beams, and eyescrews (1/4-inch or larger) are non-negotiable for safely supporting the weight and tension of stringing outdoor lights.
- Create gentle 2–4 inch sag per 10 feet of span rather than pulling lines tight, which improves the aesthetic appearance and reduces stress on anchors during wind and weather.
- Always use weatherproof extension cords rated for outdoor use with a GFCI outlet, and never bury cords or expose them to foot traffic to prevent electrical hazards and water damage.
- Inspect strings annually for cracked insulation and corroded connections, and consult a licensed electrician for any hardwired installations or configurations that tie into home wiring.
Choosing the Right Outdoor String Lights for Your Space
The foundation of any stringing project starts with selecting the right light type. You’ll encounter three main categories: incandescent, LED, and specialty options like Edison bulbs or globe lights.
Incandescent strings deliver warm, nostalgic glow and cost less upfront, but they draw more power, generate heat, and have shorter lifespans (1,000–2,000 hours). LED strings last 25,000+ hours, use 80% less energy, run cool to the touch, and work with solar options. They cost more initially but save money long-term and are safer around plants and seating areas.
Best outdoor string lighting Consider string length carefully, most come in 25-, 50-, and 100-foot spans. Measure your intended path or perimeter first, then add 10–15 feet for slack and anchor adjustments.
For solar for outdoor lights, look for strings with built-in solar panels or rechargeable battery packs. These eliminate extension cord hassles and work great for ambient lighting away from outlets. But, they dim in dense shade and require full sun exposure during the day. Hardwired strings deliver consistent brightness and work in any light condition.
Cord type matters too. Weatherproof rubber or vinyl cords handle moisture and UV exposure better than standard plastic. Check for ratings like IP65 (water-resistant) or IP44 (splash-resistant) to ensure your setup survives rain and morning dew.
Planning Your Layout and Choosing Anchor Points
Before you hang a single bulb, sketch your backyard layout on paper or use a phone photo with lines drawn over it. Mark potential anchor points, posts, pergolas, trees, gutters, or fence tops. Strong anchor points are non-negotiable: outdoor strings carry weight from tension, wind, and accumulated ice in winter.
Check what you’re anchoring to. Wood posts and pergola beams work well with lag bolts and eye screws (rated for outdoor use and sized 1/4-inch or larger). Gutters need specialized clips designed not to damage edges. Trees require rope spreaders or soft straps, never wrap cord directly around trunks, which girdles bark. Metal fixtures accept brackets rated for outdoor use.
Popular Hanging Locations and Setup Ideas
Straight run: String lights in a linear path along a deck, patio, or fence line. This suits most yards and looks clean. Use posts or pergola edges as endpoints.
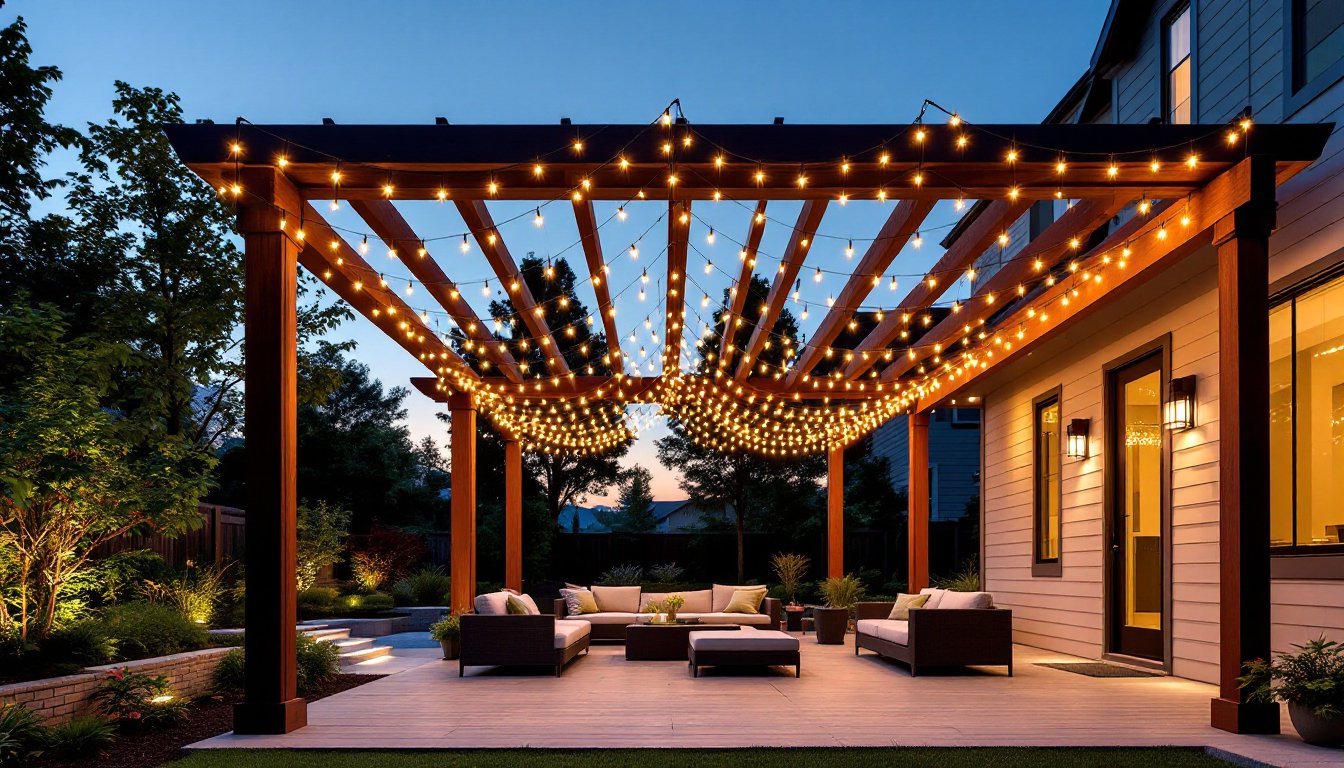
Crisscross: Run strings diagonally across a yard or patio overhead. This creates a canopy effect and defines gathering space. Plan anchor points on opposing corners.
Perimeter loop: Circle your seating or dining area. This defines boundaries and draws the eye inward, making smaller spaces feel intentional.
Asymmetrical drape: String lights from one tall point (tree, post) down to lower points. Patio string lights ideas and asymmetry adds visual interest and romance.
Mixed heights: Combine strings at different elevations, some high overhead, others lower around seating. This layers light and prevents harsh shadows.
Step-by-Step Installation Process
-
Lay out all equipment and test the string. Plug in your lights in daylight to confirm every bulb works before installation. Replace burnt-out bulbs now, not after hanging.
-
Identify and secure your main anchor points. Install eye screws, lag bolts, or wall brackets at planned endpoints. For hardwired strings, locate your outlet and run the cord along siding, fence rails, or wall clips, never across walking paths where someone could trip.
-
Run the string loosely first. Don’t attach bulbs yet. Carry the line from one endpoint to another, letting it drape naturally. This shows you the actual sag and lets you adjust anchor points if needed.
-
Attach the string at endpoints. Use outdoor motion detector lights or fixed securing methods depending on your setup. For permanent installations, cables, carabiners, or adjustable clips rated for outdoor use work well. Avoid nails or staples that pierce the cord.
-
Create gentle sag. Outdoor strings shouldn’t be pulled tight like clothesline. Aim for 2–4 inches of droop per 10 feet of span. This relieves stress on anchors and looks better than perfectly taut lines.
-
Secure intermediate points if needed. For runs longer than 30 feet, add mid-span anchors to prevent excessive sag and wind movement. Use the same clip-and-eye-screw method.
-
Hide or route the power cord safely. Run extension cords along structural edges using clips rated for outdoor use. Keep cords away from water sources and foot traffic. Use a step-by-step guide for outdoor lighting installation to review grounding and weatherproofing standards.
-
Test everything once installed. Turn on lights during dusk to check brightness and spacing. Adjust positioning if needed while the strings are still loose.
Achieving Even Spacing and Professional Results
Even spacing makes the difference between a rushed backyard and a polished look. Mark your anchor points first, then measure the distance between them. Divide by the bulb count to find your spacing interval. For example, a 25-foot span with 13 bulbs = roughly 2 feet per bulb.
Most commercial strings have pre-set bulb spacing (commonly 12 inches or 24 inches), so you’re choosing strings that match your distance rather than custom-spacing. If you want tighter clustering, look for “shorter intervals” or buy two shorter strings instead of one long one.
For outdoor home lighting that blends ambiance with function, consider placing bulbs denser near seating areas where people gather and slightly sparser along pathways. This focuses light where it matters and saves energy. Landscape lighting kits transform outdoor space with easy installation, and adding string lights to an existing landscape lighting scheme layers warmth and dimension.
Angle and drape matter. Strings should follow the line of your structure (pergola beams, roof edge, fence line) rather than fight against it. Crooked lines read as accidental: intentional curves and drapes read as designed. Step back frequently as you work and adjust until the eye is pleased.
Safety Considerations and Maintenance Tips
Safety isn’t negotiable. Never bury extension cords or leave them exposed to foot traffic without protection. Use a weatherproof extension cord rated for outdoor use (look for “SEOOW” or similar rating), and plug it into a GFCI outlet to protect against electrical shock. Keep cords away from water features and wet ground.
Inspect strings annually, especially before heavy weather. Look for cracked insulation, corroded connections, or bulbs that flicker or don’t light. Replace damaged sections rather than attempting repair.
Clear debris (leaves, spider webs, accumulated dirt) every 1–2 months. Gently wipe bulbs and sockets with a dry cloth during the off-season. In winter, heavy snow can add stress to strings and anchor points, consider taking down temporary installations in regions with significant snowfall.
Wear safety glasses and gloves when handling extension cords and installing hardware. If you’re working from a ladder or height, use a second person for stability and have them steady the ladder.
For hardwired installations or anything involving buried conduit or permanent wiring, consult a licensed electrician. Building codes vary by jurisdiction, and some configurations require permits. Check with your local building department before installing anything that ties into home wiring.
Landscape lighting ideas transform Proper planning and maintenance keeps strings safe and looking beautiful for years.
Conclusion
Stringing outdoor lights is one of the highest-impact, lowest-skill projects a homeowner can tackle. With thoughtful planning, quality materials, and secure anchoring, you’ll create a backyard that invites evening use and stands up to weather. Start small with a single 25-foot run if you’re new to this, then expand as confidence grows. Your outdoor space deserves light and life after sunset.


