
Low voltage landscape lighting kits have changed how homeowners light up their yards without calling an electrician or pulling permits. These systems run on 12 volts instead of standard 120-volt household current, making them safer to install and cheaper to operate. Whether highlighting a walkway, uplighting trees, or adding ambiance to a patio, these kits deliver professional results without professional help. They’re forgiving for first-timers, expandable as needs grow, and gentle on monthly electric bills, perfect for anyone ready to tackle outdoor lighting on their own terms.
Table of Contents
ToggleKey Takeaways
- Low voltage landscape lighting kits operate on 12 volts instead of standard 120-volt current, eliminating the need for permits and electrician fees in most jurisdictions.
- Safety and cost efficiency are major advantages—at 12 volts, shock risk is minimal, and LED fixtures use 85% less energy than traditional halogen bulbs.
- A properly sized transformer with 20% more capacity than your total fixture wattage prevents overloading and leaves room for future expansion of your outdoor lighting system.
- Voltage drop becomes noticeable on long cable runs; for distances over 50 feet, upgrade to 10-gauge wire or split circuits to maintain consistent brightness.
- Layer different fixture types—path lights, spotlights, and well lights—to create depth and visual interest rather than relying on single-height lighting.
- Plan your layout, test all connections before burying cable, and bury runs 4–6 inches deep to protect your low voltage landscape lighting installation from damage.
What Are Low Voltage Landscape Lighting Kits?
A low voltage landscape lighting kit includes everything needed to set up an outdoor lighting system that operates on 12 volts instead of the standard 120-volt household current. The kit typically contains a transformer that steps down voltage from a standard outlet, LED or halogen light fixtures, and low-voltage cable to connect them.
The transformer is the heart of the system. It plugs into a standard outdoor GFCI outlet and converts power to 12 volts, dramatically reducing shock risk. Most transformers include a built-in timer or photocell sensor for automatic on/off control. Wattage capacity ranges from 45 watts for small kits up to 300+ watts for larger properties.
Fixtures in these kits come in various styles, path lights, spotlights, well lights, and accent lights. They’re usually made from materials like aluminum, brass, or composite plastic, designed to withstand weather year-round. Cable is typically 12-gauge or 14-gauge copper wire, rated for direct burial but often run through conduit for added protection.
Because the system operates at 12 volts, it doesn’t require permits in most jurisdictions (always check local codes). The National Electrical Code (NEC) classifies systems under 30 volts as Class 2 circuits, meaning they’re considered low-risk and can be installed by homeowners without licensed electrician oversight in many areas.
Why Choose Low Voltage Over Standard Voltage Lighting?
Safety is the biggest reason. At 12 volts, the risk of electrical shock is minimal, safe enough that exposed connections won’t cause injury. That makes installation less stressful for DIYers and safer around kids, pets, and wet soil.
Cost savings come in two forms. Upfront, homeowners avoid electrician fees since no permit or licensed work is typically required. Long-term, LED low-voltage fixtures use a fraction of the energy of standard voltage halogen or incandescent bulbs. A 3-watt LED path light produces the same lumens as a 20-watt halogen, cutting energy use by 85%. Over a year, that’s noticeable on the electric bill.
Ease of installation is another big draw. There’s no need to trench deep lines, install junction boxes, or wire fixtures to code-compliant standards. Low-voltage cable can be buried just a few inches deep, or simply tucked under mulch in some setups. Fixtures often use quick-connect terminals or twist-on wire nuts, no splicing or pigtails required.
Flexibility rounds out the advantages. Fixtures can be repositioned easily since they’re not hardwired. Homeowners can experiment with placement, add lights over time, or move the system entirely if landscaping changes. Standard voltage systems lock fixtures in place once installed.
Key Components of a Complete Lighting Kit
Transformer: This converts 120V AC power to 12V AC. Look for a transformer with at least 20% more capacity than the total wattage of all planned fixtures combined. For example, if fixtures total 100 watts, choose a 120-watt transformer to avoid overloading. Digital timers and photocell sensors are common upgrades: some models include Wi-Fi connectivity for smartphone control.
Fixtures: Kits usually include a mix of fixture types. Path lights (also called bollard lights) stand 12–24 inches tall and mark walkways. Spotlights direct beams upward to highlight features like trees or walls. Well lights sit flush with the ground for uplighting, and deck lights mount to railings or posts. LED fixtures are the standard now, they last 25,000+ hours and run cool to the touch.
Cable: Most kits include 12-gauge or 14-gauge direct burial cable. Thicker 12-gauge wire reduces voltage drop over longer runs, critical if lights will be more than 50 feet from the transformer. Some kits use proprietary quick-connect cable systems: others use standard lamp cord that requires manual wire stripping and connectors.
Connectors and stakes: Quick-connect hubs or twist-on wire connectors join fixtures to the main cable. Ground stakes anchor path lights and spotlights into soil. Better kits include rust-resistant steel or aluminum stakes: cheaper ones use plastic that can crack in freeze-thaw cycles.
Wire clips and fasteners: These secure cable along fences, under decks, or against house siding. Cable should never be left loose, it’s a trip hazard and vulnerable to damage from lawn equipment.
How to Choose the Right Kit for Your Yard
Start by counting the fixtures needed. Walk the property at dusk and note where light is missing, paths, steps, entryways, focal plants, or seating areas. A typical front yard might need 6–8 path lights and 2–4 accent spots. Larger properties can require 20+ fixtures.
Match transformer capacity to total wattage. Add up the wattage of all planned fixtures, then multiply by 1.2 to get the minimum transformer size. For 10 fixtures at 3 watts each, that’s 30 watts × 1.2 = 36 watts minimum. Buy a 50-watt or larger transformer to leave room for future expansion.
Consider cable run length. Voltage drop is real, fixtures at the end of a long run will dim noticeably. For runs over 50 feet, step up to 10-gauge wire or split the circuit into two separate runs from the transformer. Some pros recommend keeping total cable runs under 100 feet per circuit for consistent brightness.
Material quality matters for longevity. Brass and copper fixtures develop a patina but resist corrosion. Powder-coated aluminum is lightweight and rust-proof. Composite plastic is budget-friendly but can become brittle after years of UV exposure. Check IP (Ingress Protection) ratings, IP65 or higher means the fixture is dust-tight and protected against water jets, suitable for all-weather use.
Look for LED color temperature options. Warm white (2700K–3000K) mimics traditional incandescent and works well for pathways and living spaces. Cool white (4000K+) is crisper and better for security lighting or modern designs.
Installation Tips for DIY Success
Plan the layout before buying anything. Sketch the yard and mark fixture locations. Lay out the cable path to minimize obstacles and measure total run length. This prevents mid-project trips to the hardware store.
Prep the transformer location first. It needs to be within 6 feet of a GFCI-protected outdoor outlet (NEC requirement). Mount it on a wall, post, or inside a weatherproof box. Keep it accessible for timer adjustments and at least 12 inches off the ground to avoid splashing water.
Trench cable runs 4–6 inches deep, following a straight line where possible. Use a flat spade or edging tool to cut a narrow slit in turf, then push cable into the slot with a putty knife. In planting beds, bury cable under mulch but mark the route so future digging doesn’t sever wires. For crossing driveways or sidewalks, run cable through Schedule 40 PVC conduit to protect it from crushing.
Connect fixtures starting from the transformer and working outward. Strip ½ inch of insulation from wire ends, twist strands together, and secure with waterproof wire nuts or quick-connect hubs. Many DIYers underestimate pathway lighting complexity, leading to dimming issues at the far end of the run.
Test before burying. Plug in the transformer and confirm all fixtures light up at full brightness. Adjust positions while everything is still accessible. Once satisfied, backfill trenches and tamp soil firmly.
Safety gear: Wear gloves when handling cut wire ends and safety glasses if using a shovel or post-hole digger. Low voltage doesn’t shock, but hand tools can throw debris.
Creative Design Ideas for Maximum Impact
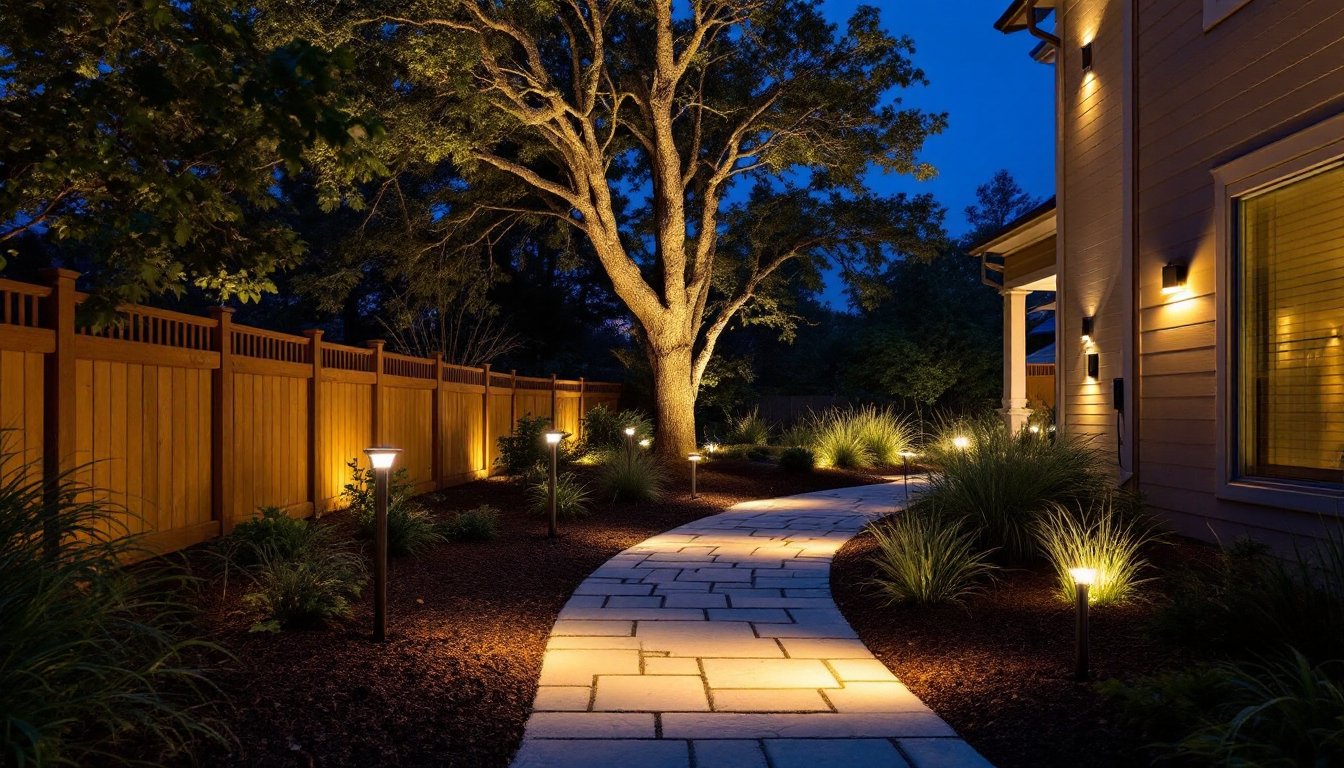
Layer lighting types for depth. Combine path lights at ground level, spotlights aimed upward at trees or architecture, and downlights mounted in eaves or pergolas. This creates visual interest and avoids the flat look of single-height lighting.
Highlight texture. Uplight stone walls, tree bark, or decorative grasses to cast shadows and emphasize surface detail. Position spotlights 12–18 inches from the base of the feature and aim them at a 30–45 degree angle.
Light the edges, not the center. Frame patios, decks, and seating areas with perimeter lighting instead of flooding the space. This draws the eye outward and makes small yards feel larger. Well lights recessed into the edges of a deck or under cap rails work especially well.
Use shadow play. Place a spotlight behind a sculptural plant or garden ornament to cast a dramatic shadow on a fence or wall. This works best with plants that have distinct shapes, yucca, ornamental grasses, or Japanese maple.
Coordinate with hardscaping. Lights integrated into step risers improve safety and look intentional. For retaining walls, tuck small puck lights into crevices between stones. Along gravel paths, recess well lights flush with the surface to mark edges without tripping hazards.
Avoid overlighting. Landscape lighting should guide and accent, not replicate daylight. A common mistake among homeowners tackling outdoor improvement projects is using too many fixtures or overly bright bulbs. Aim for subtle pools of light with dark gaps in between, the contrast creates drama.
Conclusion
Low voltage landscape lighting kits put professional-quality outdoor lighting within reach of any DIYer willing to plan carefully and follow basic electrical safety. They’re safe, affordable, and endlessly customizable, whether lighting a modest front path or a sprawling backyard retreat. With the right components and a solid layout, homeowners can transform their property’s nighttime curb appeal in a weekend, no permit required.


