
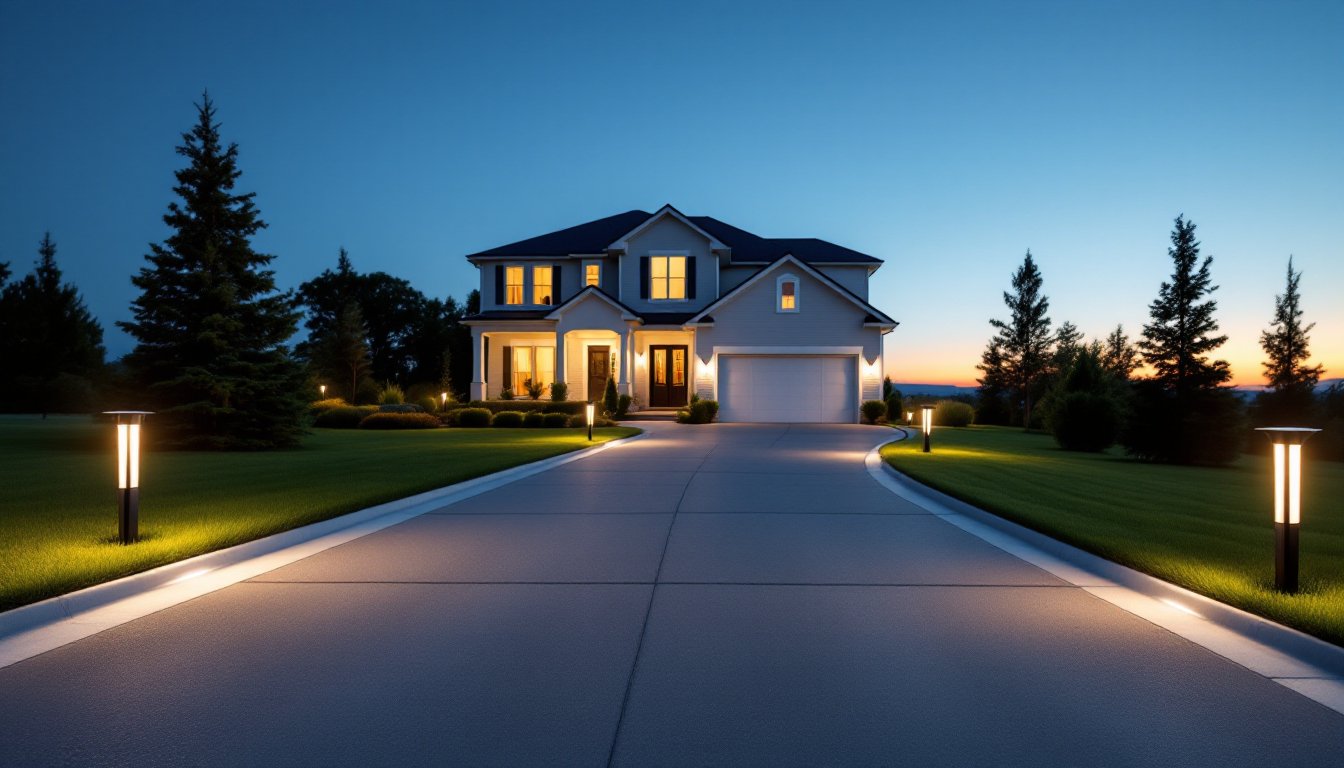
A dark driveway is more than an inconvenience, it’s a tripping hazard, a security weak spot, and an invitation for delivery drivers to overshoot the mailbox. Solar driveway lighting solves all three problems without trenching cable or calling an electrician. The tech has come a long way since the wobbly stake lights of the early 2000s, and homeowners in 2026 have real options: bright LEDs, lithium batteries that last years, and drive-over fixtures rated for SUV tires. Here’s what works, what to skip, and how to install it in a weekend.
Table of Contents
ToggleKey Takeaways
- Solar driveway lighting improves safety, security, and cost savings by marking pavement edges and deterring intruders without requiring trenching, permits, or electrician installation.
- Choose drive-over rated in-ground markers for the pavement surface and stake lights for grass borders, with LiFePO4 batteries lasting 3-5 years and outperforming older NiMH cells.
- Proper installation requires full pre-charge of batteries for 2 days, placement every 6-8 feet along the driveway, and 6+ hours of daily sun exposure per fixture to ensure consistent performance.
- Maintenance is minimal: clean solar panels quarterly with dilute soap, replace batteries every 3-5 years, and check seals after winter to keep driveway lighting functioning reliably.
- Solar driveway markers effectively skip electrical codes and trenching costs while delivering edge lighting for under the price of a single hardwired fixture installation.
Why Solar Driveway Lighting Is Worth the Upgrade
Solar driveway lights pay off in three ways: safety, security, and savings. They mark the edges of pavement so guests don’t drift into the lawn, deter would-be intruders who prefer unlit approaches, and skip the metered electricity entirely.
Unlike hardwired fixtures, solar units don’t require pulling a permit or trenching beneath turf. That matters because outdoor wiring typically falls under NEC Article 225 and local jurisdictions often require GFCI protection and burial depth compliance for line voltage runs. Solar sidesteps that paperwork.
They’re also forgiving for renters and homeowners with long, curving driveways where running cable would be expensive. A quality set of solar markers can light 100 feet of driveway for under what a single hardwired fixture costs installed.
Types of Solar Driveway Lights to Consider
Not every solar light belongs along a driveway. Garden-style fixtures designed for flower beds will get crushed the first time someone parks wide. The two categories worth focusing on are path/stake lights and in-ground markers.
Path and Stake Lights
These sit 12 to 24 inches above grade on a spiked stem pushed into soil. They’re the easiest install: pull off the cap, charge the battery in sun for a day, push the stake in, done. Good ones use lithium iron phosphate (LiFePO4) batteries rather than older NiMH cells, which doubles the useful life to roughly 3-5 years.
Stake lights work best along grass or mulch borders where vehicles won’t roll over them. For driveway edges flush with pavement, they’re too tall and too fragile. A solid roundup of stake-style options appears in this solar-powered outdoor lights guide, which breaks down brightness and runtime by use case.
In-Ground and Driveway Marker Lights
For the driving surface itself, look for drive-over rated fixtures (sometimes labeled “vehicle-rated” or with a load spec like 4,400 lbs). These are typically 4-5 inches in diameter, sit flush or near-flush with asphalt or concrete, and use polycarbonate lenses tough enough for SUV tires.
In-ground markers are the standard for marking driveway edges, turnarounds, and the apron near the street. They cost more per unit than stake lights, but they survive plow blades and lawn mowers.
Key Features to Look for When Shopping
Lumens, battery chemistry, IP rating, and load capacity matter more than fancy app features. Here’s what to check on the box:
- Brightness: 10-20 lumens per marker is plenty for edge lighting. Path lights should hit 50-100 lumens.
- IP rating: IP65 minimum for rain exposure: IP67 or IP68 for in-ground fixtures that sit in puddles.
- Battery: LiFePO4 outlasts NiMH by years. Look for replaceable cells, not glued-shut housings.
- Solar panel size: Bigger is better. A 2×2 inch panel barely charges in winter: aim for 3×3 inches or larger.
- Color temperature: 2700K-3000K (warm white) flatters most homes: 5000K (daylight) reads cold and industrial.
- Drive-over rating: Non-negotiable for in-ground fixtures.
Smart features like motion sensors and app control exist, and outlets like Digital Trends regularly review the connected versions. They’re nice but optional, and they add failure points. A dumb light that turns on at dusk and off at dawn does the job for a decade.
This is also where solar diverges from traditional low voltage landscape lighting, which delivers consistent brightness from a transformer but requires cable runs. Solar trades peak output for zero wiring.
How to Plan and Install Your Solar Driveway Lighting
Most installs take 2-4 hours. The prep work, not the installation, determines whether the lights actually perform.
Materials and tools:
- Solar lights (one every 6-8 feet along the driveway)
- Tape measure and marking flags or chalk
- Rubber mallet (for stake lights)
- Masonry hole saw or core drill, 3.5-4 inch (for in-ground on concrete/asphalt)
- Safety glasses, work gloves, knee pads, dust mask if drilling masonry
Steps:
- Charge the batteries first. Leave units in direct sun for 2 full days before installing. Skipping this is the #1 reason new lights underperform.
- Map the run. Measure the driveway and divide by 6-8 feet. A 60-foot driveway needs 8-10 lights per side. Mark positions with flags.
- Check sun exposure. Each fixture’s solar panel needs 6+ hours of direct sun. Lights tucked under tree canopies will be dim by 10 p.m.
- For stake lights: Pre-loosen soil with a screwdriver, then press the stake in by hand. Tapping with a mallet on the plastic housing cracks it. Hit the stake itself if needed.
- For in-ground: Mark center, drill the hole with a core bit on a hammer drill (rent one if you don’t own it, an impact driver won’t cut concrete), vacuum debris, seat the fixture, and seal the perimeter with outdoor-grade polyurethane sealant.
- Test after one full charge cycle. Cover the panel with your hand, the light should activate within seconds.
For those who’d rather not drill into their driveway, an outdoor lighting installation service can handle the core-drilling portion in an hour. Detailed photo walkthroughs of similar solar projects are posted regularly on Instructables if a visual reference helps.
Safety note: Wear ANSI-rated safety glasses when drilling masonry, and use ear protection, hammer drills run 95+ dB.
Maintenance Tips to Keep Your Lights Shining Bright
Solar fixtures fail for boring reasons: dirty panels, dead batteries, and water intrusion. A 10-minute seasonal check prevents most of it.
- Clean the panels quarterly. A microfiber cloth with diluted dish soap removes pollen, road grime, and bird droppings. Even a thin film cuts charging by 25%.
- Replace batteries every 3-5 years. Most units use AA-sized 14500 LiFePO4 cells. Swapping them is cheaper than buying new fixtures.
- Check seals after winter. Freeze-thaw cycles work fixtures loose. Re-seal in-ground units with fresh polyurethane if cracks appear.
- Trim vegetation. Shrubs grow into solar panels by year two. Keep a 12-inch clearance above and around each panel.
- Store decorative units in winter. In hard-freeze climates, removing stake lights from October to March extends battery life significantly.
For homeowners blending solar with other systems, the broader principles in this landscape lighting kits overview apply: keep fixtures clean, document the layout, and stock a few spares from the original batch so replacements match.
Anyone planning a larger outdoor refresh might also pair driveway markers with accent fixtures, the landscape lighting ideas covered elsewhere on the site show how to layer pathway, uplighting, and driveway markers into one cohesive plan. For higher-output zones, LED landscape lighting remains the brighter, more consistent partner to solar markers.
Final Thoughts
Solar driveway lighting isn’t a perfect replacement for hardwired fixtures, but for marking edges, improving safety, and skipping the electrician, it’s hard to beat. Buy drive-over rated units for the pavement, stake lights for the borders, charge them fully before installing, and clean the panels twice a year. Do that, and they’ll outlast the next two cars parked over them.


