
Solar lawn lights have come a long way from those dim novelty stakes that barely glowed at dusk. Today’s models deliver genuine landscape illumination, powered entirely by the sun, without running electrical wire through your yard or hiring a licensed electrician. Whether you’re lighting a pathway, accenting garden beds, or adding security around your home’s perimeter, solar lawn lights offer a practical, code-free solution that works year-round. This guide walks you through selecting, installing, and maintaining solar outdoor lights so you get reliable performance and the visual punch you’re after.
Table of Contents
ToggleKey Takeaways
- Solar lawn lights eliminate expensive wiring, permitting, and electrician costs—making DIY outdoor lighting installation accessible to most homeowners for a fraction of the $1,500+ cost of wired systems.
- Choose solar lawn lights with 50+ lumens for pathways, high-capacity batteries (2,000+ mAh), and IP65+ weather ratings to ensure reliable performance and durability across seasons.
- Site selection is critical: place lights in direct, unobstructed sunlight for at least 6–8 hours daily, as shade can cut battery runtime by half and severely impact brightness.
- Space pathway lights 4–6 feet apart and maintain monthly panel cleaning to remove dust and debris, which can reduce solar absorption by 15–30% and drain performance.
- Most solar outdoor light batteries are user-replaceable (AA or AAA NiMH) and last 2–3 years, making long-term maintenance simple and cost-effective compared to replacing entire units.
Why Solar Lawn Lights Are Perfect for Modern Homeowners
Solar lawn lights eliminate the biggest friction point of outdoor lighting: wiring. You don’t need to run conduit from your breaker box, trench electrical lines, or hire a licensed electrician to comply with the NEC (National Electrical Code). That alone saves thousands in labor and makes a DIY install realistic for most homeowners.
They’re also genuinely low-maintenance compared to wired systems. No transformers to test, no circuit breakers to flip, and no annual inspections required. You place them where you need light, and the built-in photocell automatically turns them on at dusk and off at dawn. Solar christmas outdoor lights are particularly popular because they transform your holiday aesthetic without extension cords snaking across the yard.
Cost-wise, individual solar units run $10–$50 depending on brightness and build quality, while a wired system with professional installation can exceed $1,500. For homeowners testing a layout before committing to permanent infrastructure, solar outdoor lights let you experiment for pennies on the dollar. They also move easily if you redesign your landscape.
Types of Solar Lawn Lights and Which Suits Your Space
Path Lights, Spotlights, and Decorative Options
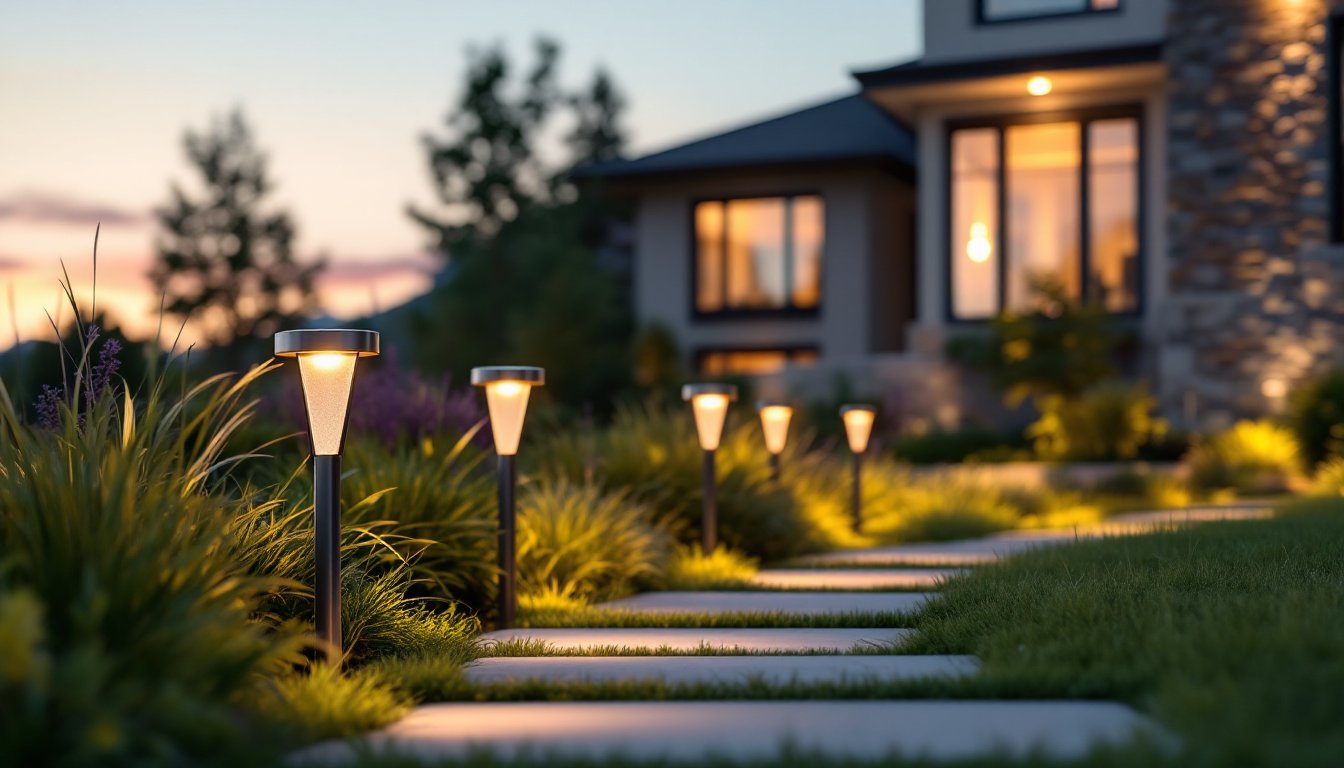
Path lights are the workhorse. They stand 12–18 inches tall with a stake base that pushes into soft soil or grass. Most emit 20–80 lumens, enough to define a walkway or garden edge without blinding anyone. They run cool, so safe to touch, and come in materials from plastic to stainless steel and brushed aluminum. Plastic is budget-friendly but can crack in winter freeze-thaw cycles: metal lasts longer but costs more.
Spotlights are angled units that direct light onto a specific feature, a tree trunk, stone wall, or water feature. They’re typically 2–3 times brighter than path lights and useful for security or accent lighting. Solar driveway lighting often relies on spotlights or larger path lights mounted on bollards (short posts) to cast light across the pavement.
Decorative options include globe lights, string lights, and stake-mounted lanterns. These prioritize ambiance over practical illumination. They’re great for entertaining areas but won’t reliably light a walkway where someone might trip. Hybrid designs, like a sleek uplighter with warm color temperature, blend function and aesthetics.
For safety-critical areas, outdoor lighting that transforms your exterior requires higher lumen output. Path lights with 50+ lumens work best: anything under 20 lumens is essentially decorative.
How to Choose the Right Solar Lawn Light for Your Needs
Brightness matters more than most homeowners realize. Solar lights are labeled in lumens, not watts. Aim for 50–100 lumens per light for a primary pathway: 20–40 lumens for subtle accent lighting. Don’t oversaturate, one bright light is often better than five dim ones in the same spot.
Battery capacity (measured in mAh, milliamp-hours) determines how long a light runs after sunset. Higher mAh means longer runtime. A 2,000 mAh battery typically powers a path light through 8–10 hours of winter darkness. In summer, you’ll get 12+ hours. Check the product spec: some cheap units spec only 1,000 mAh and fade to useless after a few hours.
Panel efficiency matters too. Monocrystalline panels (the darker, uniform-looking cells) are 15–20% efficient: polycrystalline (lighter, patchwork appearance) run 12–15%. On a short-term budget, polycrystalline is fine. For longevity and cloudy climates, monocrystalline performs better. Fence lighting designs often benefit from higher-efficiency panels because fences may sit in partial shade during part of the day.
Weather rating is critical, look for IP65 or higher (IP = Ingress Protection). IP65 means dust-tight and water-resistant to hose spray. IP67 adds temporary submersion protection, useful if you’re near a sprinkler. Cheap lights rated IP44 will corrode and fail after one wet season.
Material durability varies wildly. Aluminum and stainless steel outperform plastic in freeze-thaw regions. In mild climates, plastic is fine. Check reviews for reports of cracking, rust, or battery leaks.
Installation and Setup Tips for Maximum Performance
Site selection is the biggest factor in solar light performance. Place lights where they receive unobstructed, direct sunlight for at least 6–8 hours per day. Shade from trees, eaves, or nearby structures cuts battery runtime in half. Even slight afternoon shade in winter can cripple performance, so observe your yard at different times before installing.
Spacing matters. For pathway definition, space lights 4–6 feet apart: for accent lighting, 8–10 feet. Closer spacing creates a nightclub feel: wider spacing feels more natural and saves money. Test spacing at night after a sunny day so batteries are fully charged.
Prep the soil before pushing stakes in. Hard, compacted ground won’t accept a stake cleanly. If the ground is hard clay, moisten it lightly the night before and push lights in slowly at a slight angle rather than hammering them straight down, you’ll crack the housing. In loose sand, lights may wobble: use a small bubble level to set them plumb.
Installation steps:
- Clean the solar panel with a soft cloth to remove dust and debris (wipe-test after a rain to maximize first-charge absorption).
- Remove any plastic battery-isolation tab from inside the light’s base, this breaks the internal circuit and prevents the light from turning on.
- Push the stake into the ground to the hilt or until solid.
- Check level and adjust by rotating the light slightly on the stake.
- Allow 2–3 full sunny days of charging before expecting full brightness: most batteries need conditioning.
Solar outdoor landscape lighting installation requires no tools beyond a level. If you’re installing 10+ lights, a small dibber (a pointed gardening tool) speeds soil preparation.
Maintenance and Care to Keep Your Lights Shining Bright
Maintenance is minimal but consistent. Once per month during the growing season, wipe each light’s solar panel with a dry cloth. Dust, pollen, and bird droppings reduce solar absorption by 15–30%. In winter, after snow melts, wipe panels immediately, snow reflection can actually help charging, but standing meltwater doesn’t.
Check that lights still sit plumb every other month. Frost heave (ground expanding in winter) can tilt them. A quick adjustment takes 10 seconds and keeps light aimed where it should be.
Batteries are consumables and typically last 2–3 years before capacity drops noticeably. You don’t need to replace the whole light, most units have user-replaceable batteries (usually AA or AAA NiMH). Keep a spare pack on hand. Recharge batteries via the solar panel during the day, but in darker regions or winter, a solar light may not fully charge a fresh battery. It’ll still work: it just won’t run as long.
If a light stops working entirely, first remove it and check the battery isolation tab, some users accidentally install units with the tab still in place. If that’s not it, the battery likely needs replacement. If a replacement battery doesn’t fix it, the unit’s internal circuit or solar cell has failed, and replacement is more economical than repair.
In harsh, freeze-prone climates, remove solar christmas outdoor lights and store them indoors from November through March. Temperature swings accelerate battery failure and cause plastic to become brittle. Metal units tolerate cold better but benefit from storage too.
Conclusion
Solar lawn lights deliver genuine value for homeowners who want practical outdoor illumination without the cost and permitting hassle of wired systems. Choose lights with solid brightness (50+ lumens for pathways), high-capacity batteries, and IP65+ weather rating. Place them in full sun, space them sensibly, and commit to monthly panel cleaning. The result is a lit landscape that’s code-free, maintenance-light, and ready to adjust whenever your vision changes. That’s a win worth capturing.


