
Good lighting in a dining area transforms a simple meal into an experience. Unlike kitchen lighting, which prioritizes task visibility, or living room lighting, which juggle multiple needs, dining area light fixtures have one clear job: create an atmosphere where people want to linger. Whether you’re working with a formal dining room or an open-concept eat-in kitchen, the right fixture sets the mood, flatters your food, and anchors the entire space. This guide walks you through everything from fixture types and sizing to installation so you can pick something that actually works for your room, not just looks good on a showroom floor.
Table of Contents
ToggleKey Takeaways
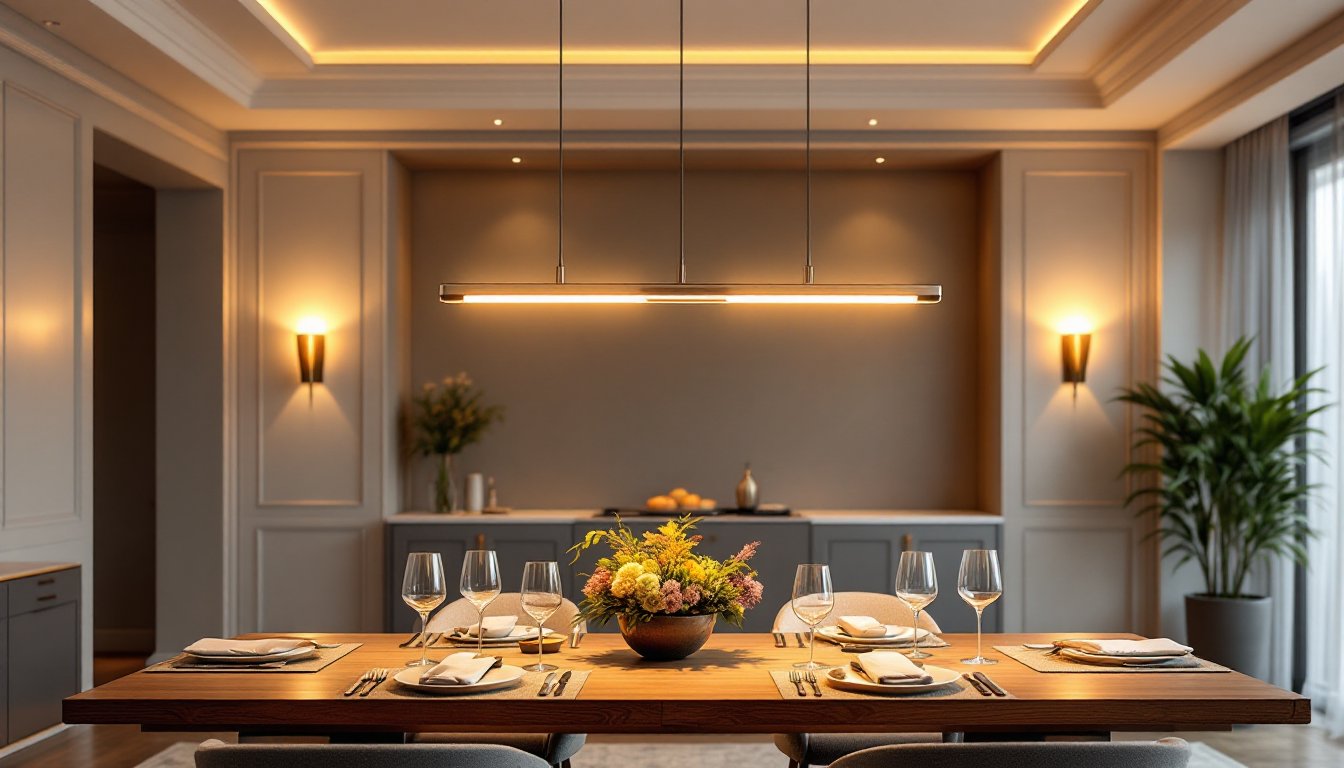
- Dining area light fixtures should be hung 30–36 inches above the table to create intimate lighting that flatters food and avoids blocking sightlines during conversation.
- Proper fixture sizing follows a simple rule: choose a diameter that’s one-half to two-thirds the width of your dining table to balance illumination and visual proportion.
- Warm color temperatures (2700K–3000K) are essential for dining rooms as they flatter skin tones and make food look appetizing, unlike cool white lighting that feels clinical.
- Chandeliers, pendant lights, and track lighting each serve different purposes—chandeliers anchor formal rooms, pendants offer flexibility for casual and modern spaces, and track systems adapt to oddly shaped or open-concept layouts.
- Installation requires turning off power at the breaker and using a voltage tester before touching any wires; when in doubt about relocating the electrical box, hire a licensed electrician to avoid costly mistakes.
- LED bulbs are ideal for dining fixtures, offering 25,000-hour lifespans and energy efficiency, but ensure they’re dimmer-compatible to prevent flicker with ELV drivers.
Why Lighting Matters in Your Dining Space
Dining area light fixtures aren’t decorative afterthoughts. They’re functional elements that control how food looks, how guests see each other, and whether the room feels inviting or cold. Poor lighting kills appetite: too-bright overhead lights create harsh shadows on faces, while dim ambient light leaves you cutting chicken in the dark.
Proper dining room lighting typically combines downward-facing task light from a central fixture with ambient fill light. This layered approach lets you dial in different moods, bright for a casual family dinner, dimmed for date night. A well-lit dining area also influences how people behave: good lighting encourages conversation and lingers longer at the table, which is why restaurants obsess over it.
Height, color temperature, and spread all matter. A fixture mounted too high casts shadows into eye level: too low, and it becomes an eyesore and a headache hazard. Warm color temperature (2700K–3000K) flatters skin tones and makes food look appetizing, while cool white (4000K+) can feel clinical. Modern decorative lighting goes beyond just brightness, it’s about creating an intentional visual anchor in the room.
Types of Dining Room Light Fixtures
Chandeliers and Statement Fixtures
Chandeliers are the classic choice for formal dining areas. They’re designed to hang low enough (typically 30–36 inches above the table) to throw light downward without glare. Modern chandeliers range from ornate crystal to sleek minimalist designs, and they work best in rooms with at least 9-foot ceilings.
The advantage: a statement chandelier defines the room instantly and creates ambiance that recessed lights can’t match. The trade-off: they’re heavier than other fixtures and often require reinforced ceiling joists and proper wiring from the start. If your dining area is off-center or awkwardly shaped, a chandelier anchors the visual weight.
Budget ranges wildly. A basic brass chandelier runs $100–300, while mid-range fixtures (brushed nickel, geometric shapes) sit at $300–800. Designer pieces push past $1,500. For a DIY install on existing wiring, the chandelier itself takes 30–45 minutes once the ceiling box is ready: electrical work may require a licensed electrician depending on your local code.
Pendant Lights and Track Lighting
Pendant lights offer flexibility that chandeliers don’t. You can hang one large pendant or cluster two to four smaller ones (typically 12–18 inches apart) over a table. They work in both formal and casual spaces, just swap the shade style. Chrome pendant lighting and farmhouse designs are particularly popular for blending modern and rustic aesthetics.
Pendant lights hang lower than you’d expect, usually 30–36 inches above a standard dining table, or even closer if the shade is open and transparent. This placement keeps the fixture visible without blocking sightlines across the table.
Track lighting gives you movable spots along a rail, useful if your dining area doubles as a workspace or if you want to light multiple zones. Unlike a single overhead fixture, track systems let you adjust aim and intensity, making them ideal for oddly shaped rooms or open-concept layouts. Track systems typically cost $150–400 for a basic 4-light kit, plus installation labor if you’re not comfortable running new circuits.
Pendant fixtures are faster to install than chandeliers, no decorative arms, fewer electrical connections. A pendant lighting kit approach lets you install the mechanism and swap shades later without rewiring.
Choosing the Right Size and Height for Your Fixture
Fixture size matters more than people realize. Too small, and the light pool looks skimpy: too large, and it dominates the room. A common rule: the fixture diameter should be roughly one-half to two-thirds the width of your dining table.
For a 36-inch round table, aim for an 18–24-inch fixture. A 48-inch rectangular table pairs well with a 24–30-inch fixture or two pendants spaced 12–18 inches apart. If your table is smaller (under 36 inches), a single 14–18-inch fixture works: larger tables may need two fixtures to avoid dark corners.
Height is critical. Measured from the bottom of the fixture to the tabletop, aim for 30–36 inches. This is low enough to create intimate downlight without blocking sightlines when seated. In rooms with ceilings below 8 feet, drop to 24–28 inches. In rooms with vaulted or 10-foot ceilings, you can go 36–48 inches and still maintain visual balance.
Wattage depends on the bulb type. LED fixtures using 60–75W equivalent bulbs per socket work well for most 4-light chandeliers: a 2-pendant setup needs 75–100W equivalent per shade. If the fixture comes with a dimmer-compatible ELV (electronic low voltage) driver, you can dial brightness down for evening ambiance. Always check the fixture label for maximum wattage and bulb type compatibility, mixing LED and incandescent in the same fixture can cause dimmer flicker.
Design Styles to Match Your Decor
Your fixture should feel intentional, not like it was chosen by accident. Contemporary dining room lighting tends toward minimalist lines, clean metal finishes, geometric shapes, no fussy ornamentation. If your dining space has modern cabinetry or a sleek table, contemporary fixtures in brushed nickel, matte black, or polished chrome reinforce that aesthetic.
Farmhouse style leans into vintage and rustic touches: Edison bulbs, wrought iron, barn-inspired shades, or worn wood details. A farmhouse pendant over a wood table feels cohesive: pair it with exposed beam framing or shiplap if you have it. These fixtures often run warmer in tone and work beautifully in dining areas adjacent to farmhouse-style kitchens.
Tradition calls for ornate chandeliers with crystal, bronze, or brass. If you’re going this route, pair it with table linens, wall color, and art that echo the same formality level. A crystal chandelier in a casual room feels overdressed: conversely, a simple industrial pendant in a formal dining room might feel too casual.
Mid-century modern fixtures, think tapered wood or ceramic shades with tapered legs, sit somewhere in between. They read as design-forward without being stark, making them a safe bet if your style is eclectic. When shopping, consider how the fixture looks both lit and unlit. During the day, a fixture is part of your ceiling scape: at night, it’s the visual anchor. A light fitting dining room should work in both states.
Installation and Maintenance Tips
Before you touch a tool, turn off power at the breaker and test the circuit with a multimeter to confirm it’s dead. Installing a dining area light fixture isn’t difficult, but electrical mistakes are serious.
Tools and materials you’ll need:
- Screwdriver set (Phillips and flathead)
- Wire strippers and wire nuts
- Voltage tester (non-negotiable for safety)
- Drywall anchors or toggle bolts if mounting to old plaster
- Mounting bracket (comes with most fixtures)
- Electrical tape and labeled wire connectors
Basic installation steps:
- Turn off the breaker serving the old fixture and verify power is off with a voltage tester.
- Remove the old fixture by unscrewing the canopy and disconnecting the black (hot), white (neutral), and bare copper (ground) wires.
- Attach the mounting bracket to the ceiling box, ensuring it’s secure. If the existing box feels loose or rotted, the fixture is too heavy for it, don’t force it.
- Thread the new fixture’s wires through the canopy and connect to the ceiling wires: black to black, white to white, ground to ground. Twist wires together firmly, screw on a wire nut, and wrap with electrical tape for security.
- Tuck wires into the ceiling box, align the canopy flush to the ceiling, and tighten mounting screws evenly.
- Install bulbs, attach any shades or crystals, and restore power.
If the existing electrical box is in the wrong spot (not centered over the table), you’ll need to reroute wiring, this typically requires cutting drywall and running new wire through the ceiling cavity. That’s a job for a licensed electrician if you’re not experienced.
Maintenance is minimal. Dust the fixture monthly with a dry cloth or soft brush. For crystal chandeliers, use a crystal cleaner spray and microfiber cloth every 6 months to keep sparkle. LED bulbs rarely burn out (25,000-hour lifespan), but check dimmer compatibility if brightness feels off. If a dimmer causes flicker, the LED driver may not support ELV, swap for dimmable-rated bulbs or upgrade the dimmer to one rated for LED loads.
For motion-activated outdoor light scenarios adjacent to dining areas, like lighting a covered patio, motion-activated outdoor lights and motion sensor outdoor lighting offer hands-free ambiance that turns on as guests arrive. These aren’t typically used for the dining table itself, but they bridge indoor and outdoor entertaining spaces.


