
Slim recessed lighting has revolutionized how homeowners approach ceiling fixtures, especially in spaces where every inch of clearance matters. Unlike traditional recessed cans that require 6–8 inches of ceiling depth, slim fixtures can fit into cavities as shallow as ½ inch. This makes them ideal for older homes with limited plenum space, retrofit projects over finished ceilings, and modern builds where shallow joist depths are common. They deliver the clean, flush aesthetic of standard recessed lights without the structural gymnastics. For DIYers and renovators alike, understanding the differences between slim fixture types, and how to install them properly, can mean the difference between a straightforward upgrade and a ceiling full of compromises.
Table of Contents
ToggleKey Takeaways
- Slim recessed lighting fits into ceiling cavities as shallow as ½ inch, making it ideal for older homes and retrofits where traditional 6–8 inch recessed cans won’t fit.
- Two main types exist: ultra-thin downlights with discrete housings for better heat dissipation, and wafer/canless fixtures that are junction-box-free and install entirely from below in under 15 minutes.
- LED slim recessed lighting uses 75–80% less energy than incandescent bulbs, lasts 25,000–50,000 hours, and must always be paired with LED dimmable modules to avoid flickering or failure.
- Proper installation requires verifying ceiling depth, checking for obstructions like ductwork, spacing fixtures evenly (roughly half your ceiling height in feet), and confirming IC-ratings for insulated ceilings to prevent thermal shutdown.
- Always verify circuit capacity (most slim fixtures draw 8–15 watts each), follow local electrical code, and consult a licensed electrician if adding new circuits or encountering unfamiliar wiring to ensure safety and compliance.
What Is Slim Recessed Lighting and Why Choose It?
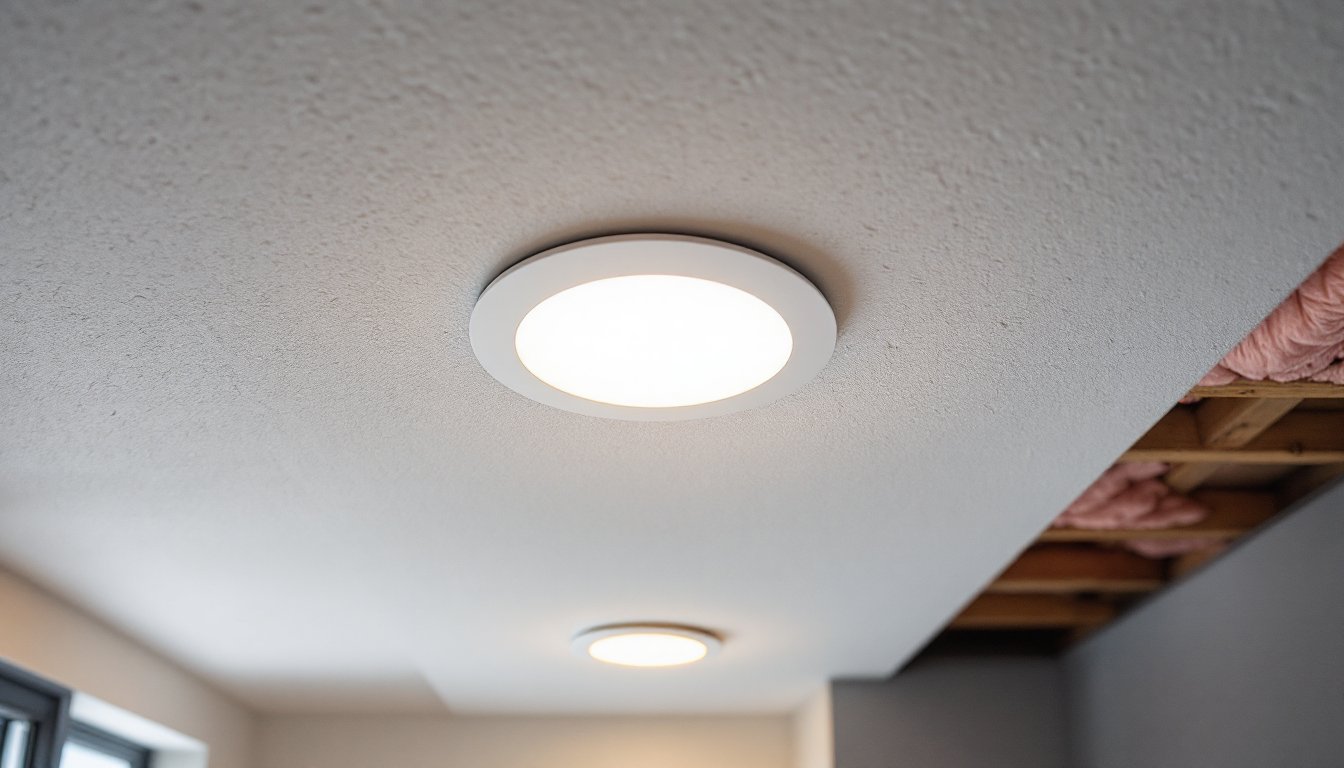
Slim recessed lighting refers to low-profile LED fixtures designed to install in ceiling cavities with minimal clearance, typically ½ inch to 2 inches. Traditional recessed housings (also called “cans”) require 6 to 8 inches of vertical space above the ceiling surface to accommodate the bulb, ballast, and heat dissipation. Slim fixtures integrate the LED driver, heat sink, and lens into a single compact unit, eliminating the bulky housing.
The most common reasons homeowners choose slim recessed lights include:
- Shallow ceiling cavities: Older homes often have 2×6 joists (5½ inches actual depth) with insulation, ductwork, or wiring that leave little room for standard cans.
- Retrofit applications: Installing lights in finished ceilings without removing drywall or plaster.
- Energy efficiency: Integrated LED modules use 75–80% less energy than incandescent bulbs and last 25,000–50,000 hours.
- Cleaner aesthetics: Many slim fixtures sit nearly flush with the ceiling, creating a seamless look that works well in modern and minimalist interiors.
One key consideration: because slim fixtures have less space for heat dissipation, they rely on efficient LED technology. Incandescent or halogen bulbs generate too much heat for these enclosures. Always verify that the fixture is IC-rated (insulation contact) if it will touch or be buried in insulation, which is common in retrofit scenarios. Non-IC fixtures require a 3-inch clearance from insulation to prevent overheating.
Slim recessed lights are not a compromise, they’re purpose-built for specific conditions. When clearance is tight, they outperform standard cans in both installation ease and long-term reliability.
Types of Slim Recessed Lights for Every Room
Not all slim fixtures are created equal. The two dominant categories, ultra-thin downlights and wafer/canless fixtures, serve different needs and installation contexts.
Ultra-Thin LED Downlights
Ultra-thin downlights are the most traditional-looking slim option. They consist of a thin metal housing (usually 1–2 inches deep) with a built-in LED module and trim ring. The housing mounts to the ceiling joists or drywall using spring clips or a mounting bracket.
These fixtures work well in new construction or situations where you have access to the ceiling cavity from above. They’re available in standard sizes, 4-inch, 5-inch, and 6-inch diameters, and come in various color temperatures (2700K warm white to 5000K daylight). Many models are dimmable when paired with compatible LED dimmers: check the spec sheet to confirm compatibility with phase-cut or ELV dimmers.
Ultra-thin downlights are a go-to for kitchens, hallways, and bedrooms where you want consistent, general illumination. Because they have a discrete housing, they handle heat dissipation better than canless models, making them slightly more robust for high-output applications. They’re also easier to replace if the LED module fails, just swap the entire fixture.
One thing to watch: many ultra-thin housings are designed for non-IC installation. If you’re placing them in an insulated ceiling, you’ll need to maintain the 3-inch clearance or source an IC-rated model. Violating this clearance can trigger thermal cutoff switches, causing lights to flicker or shut down.
Wafer and Canless Recessed Fixtures
Wafer lights, also called canless or thin recessed lights, are the slimmest option on the market. They eliminate the housing entirely. The fixture is a flat disc, typically ½ inch to 1 inch thick, with integrated LED, driver, and trim. Installation involves cutting a hole in the drywall, pulling electrical wire through, and securing the disc with spring-loaded clips that grip the back of the drywall.
This design is ideal for retrofit projects where ceiling access is limited or nonexistent. Homeowners upgrading existing lighting fixtures often prefer wafer lights because they don’t require attic access or extensive carpentry. The entire fixture installs from below in under 15 minutes per light.
Most wafer fixtures are junction-box-free, connecting directly to house wiring via quick-connect terminals (push-in or lever-style connectors). This makes them DIY-friendly, but it also means the entire fixture must be replaced if the LED fails, there’s no serviceable bulb. Fortunately, quality models carry 5- to 10-year warranties, and LED failure rates are low.
Wafer lights come in the same size and color temperature options as ultra-thin downlights. They’re popular in living rooms, dining areas, and bathrooms, anywhere a flush, modern look is desired. Because they have minimal heat sink mass, they’re best suited for moderate lumen outputs (600–1000 lumens per fixture). For high-output task lighting, ultra-thin downlights are a better bet.
Both types integrate well into smart home systems. Many manufacturers offer models compatible with Bluetooth or Wi-Fi control, allowing dimming and color temperature adjustment via app. When planning layouts, homeowners frequently reference design platforms like Houzz to visualize spacing and light distribution.
Installation Tips for Shallow Ceiling Spaces
Installing slim recessed lights in tight ceiling cavities requires more planning than standard can installations. Here’s how to do it right.
1. Verify ceiling depth and obstructions.
Before purchasing fixtures, measure the actual cavity depth. For drywall ceilings, this is the distance from the ceiling surface to the backside of the drywall or the bottom of the joist. Use a stud finder to locate joists, and check for ductwork, electrical conduit, or plumbing that might interfere with placement. Slim fixtures are forgiving, but they still need ½ inch to 2 inches of clear space depending on the model.
If you’re working with vaulted ceiling recessed lighting, measure along the slope and ensure the fixture can mount securely to angled joists or blocking.
2. Plan your layout and circuit load.
Space fixtures evenly for uniform light distribution. A common rule of thumb: divide the ceiling height by two to get spacing in feet. For an 8-foot ceiling, place lights roughly 4 feet apart. For task lighting over counters or desks, reduce spacing to 3 feet.
Calculate total wattage on the circuit. Most slim LED fixtures draw 8–15 watts each. A standard 15-amp, 120-volt circuit can handle up to 1,800 watts, but it’s good practice to load no more than 80% of capacity (1,440 watts). That’s plenty for 20+ slim fixtures on a single circuit, but if you’re adding to an existing circuit with other loads, verify you’re not exceeding the breaker rating.
3. Cut holes carefully.
For retrofit wafer lights, use a hole saw sized to the fixture’s cutout diameter (usually 4⅛, 5⅛, or 6⅛ inches). Mark the center point with a pencil, drill a pilot hole to check for obstructions, then cut slowly to avoid chipping paint or drywall paper. Vacuum out dust before proceeding.
For ultra-thin downlights in new construction, install the housing before drywall goes up, following the manufacturer’s mounting instructions. Secure to joists with screws or the provided brackets.
4. Wire safely and follow code.
Turn off power at the breaker before working. Use a non-contact voltage tester to confirm wires are dead. For wafer lights with quick-connect terminals, strip wire ends ½ inch (check the terminal marking) and insert firmly until you hear a click. Tug gently to confirm the connection is secure.
For fixtures requiring a junction box (some ultra-thin models), use a pancake box or remodel box rated for ceiling fixtures. Secure it to a joist or blocking, never just to drywall. Connect fixture leads to house wiring with wire nuts (white to white, black to black, ground to ground). Wrap connections with electrical tape for added security.
Most jurisdictions follow the National Electrical Code (NEC), which requires proper box mounting, wire gauge matching (typically 14 AWG for 15-amp circuits, 12 AWG for 20-amp), and GFCI protection in wet locations like bathrooms. Consult local code or a licensed electrician if you’re unsure, some municipalities require permits for adding new lighting circuits.
5. Test and adjust.
Once wired, restore power and test each fixture. If a light flickers or doesn’t turn on, check connections and verify the dimmer (if used) is LED-compatible. Incompatible dimmers cause buzzing, strobing, or failure to turn on. Swap in an LED-rated dimmer if needed.
Adjust beam angles if your fixtures have rotating gimbals. This feature is common in directional slim downlights and useful for accent lighting or highlighting artwork. Many DIYers find inspiration and troubleshooting tips on sites like Hunker when fine-tuning their layouts.
Safety notes:
- Wear safety glasses when cutting drywall or drilling overhead.
- Use a dust mask if working in areas with old insulation or ceiling texture.
- If you encounter aluminum wiring (common in homes built 1965–1973), stop and consult a licensed electrician. Aluminum wiring requires special connectors and techniques to prevent fire hazards.
- Never exceed the fixture’s rated wattage or install non-dimmable LEDs on a dimmer circuit.
Slim recessed lighting installation is well within the reach of a confident DIYer, but don’t hesitate to call a pro if you’re adding new circuits, working with unfamiliar wiring, or dealing with structural unknowns. Permits and inspections exist for a reason, they catch mistakes before they become hazards.
Conclusion
Slim recessed lighting opens up possibilities in spaces where traditional cans simply won’t fit. Whether tackling a retrofit in a century-old bungalow or wiring a new build with shallow joist bays, the right fixture type and careful installation deliver clean, efficient illumination without compromise. Take the time to measure, plan your circuit load, and follow code, your ceiling (and your electric bill) will thank you.


