
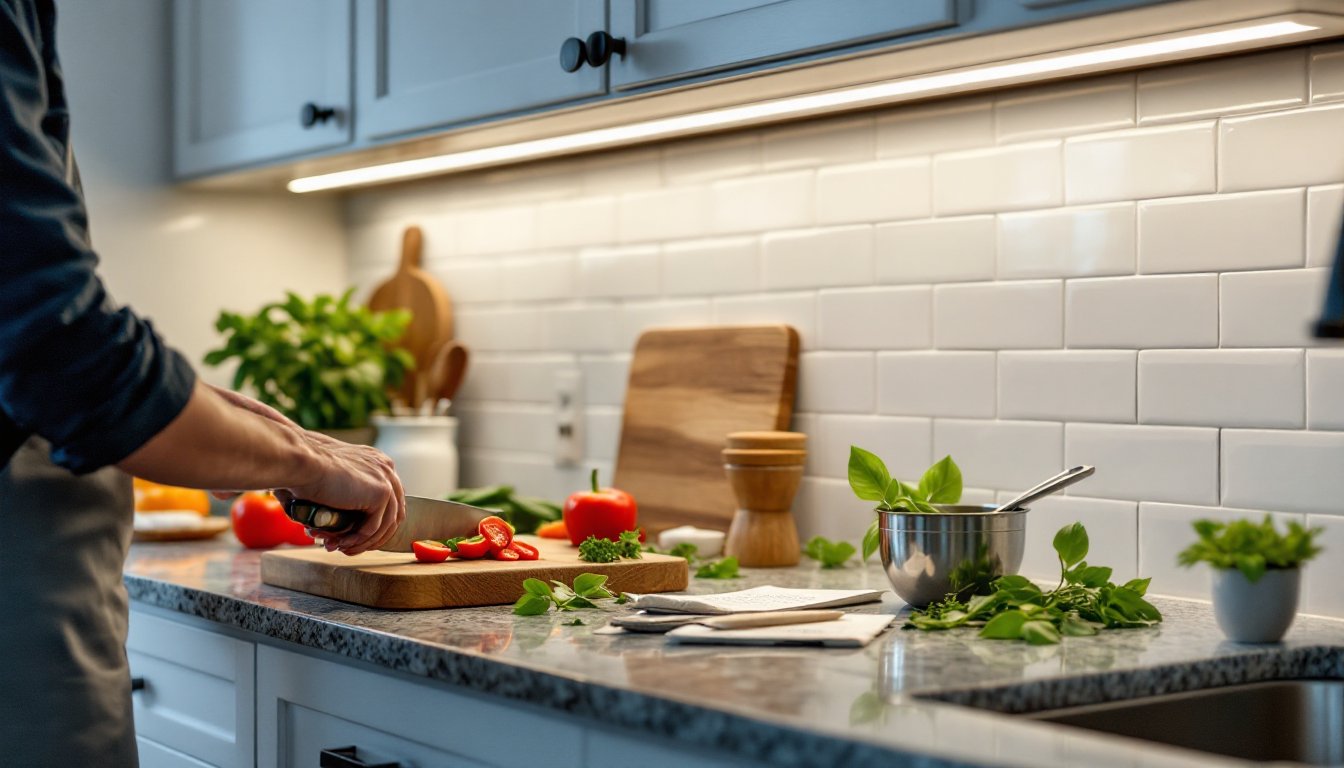
Under cabinet lighting isn’t just about aesthetics, it’s about making your kitchen safer and more functional. If you’ve ever tried chopping vegetables in the shadow of your own head, you know the problem. Task lighting eliminates those dark zones and adds depth to your kitchen design. Whether you’re upgrading an existing kitchen or finishing a remodel, installing under cabinet lights is a manageable weekend project that delivers immediate results. This guide walks through the process from fixture selection to final connection, covering both plug-in and hardwired installations.
Table of Contents
ToggleKey Takeaways
- Under cabinet lighting installation eliminates shadows on work surfaces, adds visual depth to kitchen design, and boosts property value—making it a high-ROI home improvement project.
- LED strip lights in aluminum channels offer the best balance of cost, coverage, and appearance for most kitchens, while linear light bars provide a more finished look and puck lights work best for accent lighting.
- Plug-in under cabinet lighting systems can be installed in 2-3 hours without permits or an electrician, making them ideal for DIY homeowners who prefer non-permanent solutions.
- Hardwired under cabinet lighting requires turning off power, installing a junction box, and following NEC code requirements, so hiring a licensed electrician is recommended if you’re uncomfortable with electrical work.
- Common installation issues like uneven lighting, flickering, or adhesive failure can be resolved by ensuring proper wire gauge, maintaining tight connections, cutting LED strips at marked intervals, and using mechanical fasteners in cold conditions.
Why Under Cabinet Lighting Transforms Your Kitchen
Properly installed under cabinet lighting solves three problems at once: visibility, ambiance, and property value.
First, it eliminates shadows on countertops where prep work happens. Overhead lights cast your body’s shadow directly onto your workspace, under cabinet fixtures angle light exactly where you need it. This matters for precision tasks like measuring ingredients, reading recipes, or spotting that errant onion skin.
Second, layered lighting creates visual interest. General overhead lighting flattens a room: adding task lighting under cabinets and ambient ceiling fixtures adds dimension. It highlights backsplash materials, creates subtle glow along countertops, and makes the kitchen feel larger.
Third, it’s a selling point. Real estate agents know that well-lit kitchens photograph better and show better during walkthroughs. According to renovation data from This Old House, kitchen lighting upgrades consistently rank among the highest ROI improvements for minor remodels.
One practical note: under cabinet lighting reduces the need to flip on bright overhead lights for late-night snacks or early-morning coffee. That alone makes it worth the effort.
Choosing the Right Under Cabinet Lighting for Your Space
Three fixture types dominate the under cabinet market: LED strip lights, puck lights, and linear light bars. Each has trade-offs in coverage, installation complexity, and appearance.
LED Strip Lights vs. Puck Lights vs. Linear Light Bars
LED strip lights are flexible ribbons with adhesive backing, typically 12V or 24V low-voltage systems. They provide even, continuous illumination with no visible hot spots. Installation is straightforward, peel, stick, connect to a driver, but they’re the most visible option if your cabinets don’t have a front lip to hide them. Strip lights work best when paired with an aluminum channel that diffuses the LEDs and hides the adhesive edge. Coverage is about 300-450 lumens per foot for quality strips.
Puck lights are small, circular fixtures (usually 2-3 inches in diameter) spaced 8-12 inches apart under cabinets. They create pools of light rather than continuous coverage, which some people prefer for accent lighting. Battery-powered pucks exist, but hardwired or plug-in versions eliminate the battery-swap hassle. They’re easiest to retrofit into existing kitchens because each puck mounts independently. Drawback: visible “scalloping” (bright spots with darker gaps) if spacing isn’t dialed in.
Linear light bars are rigid, enclosed fixtures that range from 12 to 48 inches long. They mount with clips or screws and deliver uniform light similar to strips but with a cleaner finish. Many include integrated diffusers, and some link together with snap connectors for seamless runs. Light bars are the most “finished” looking option and the easiest to align perfectly. They’re also the priciest per linear foot.
For most kitchens, LED strip lights in aluminum channels offer the best balance of cost, coverage, and appearance. Linear bars are worth the premium if you want plug-and-play simplicity. Pucks work for accent lighting or small spaces, but they’re not ideal for continuous task lighting.
Essential Tools and Materials You’ll Need
Gather everything before you start. Stopping mid-project to hunt for wire nuts kills momentum.
Materials:
- LED strip lights, puck lights, or linear bars (measure total linear feet of cabinets first)
- Power supply or driver (match voltage: 12V or 24V for most LED systems)
- Mounting clips, adhesive strips, or screws (depending on fixture type)
- Wire connectors (for hardwired installations)
- Cable staples or adhesive cable clips
- 14/2 NM-B Romex (for hardwired runs: quantity depends on distance to power source)
- Wire nuts and electrical tape
- Junction box (if adding a new hardwired circuit)
Tools:
- Tape measure (measure twice, cut once)
- Level (light bars must be aligned or they’ll look crooked)
- Drill/driver with bits (for mounting screws and drilling access holes)
- Wire strippers (for hardwired connections)
- Voltage tester (non-negotiable for safety on hardwired installs)
- Utility knife (for cutting LED strips to length)
- Stud finder (optional, but helpful for locating cabinet frames)
- Safety glasses and gloves
If you’re hardwiring into an existing circuit, you may also need a fish tape for running wire through walls. For plug-in systems, you’ll just need a nearby outlet, ideally inside the cabinet or behind the range hood.
How to Install Plug-In Under Cabinet Lighting
Plug-in systems are the DIY-friendly option. No permits, no circuit breakers, no electrician. Most homeowners can complete installation in 2-3 hours.
Step 1: Plan the Layout
Measure the underside of your cabinets and decide where fixtures will go. For strip lights, run them along the front edge (about 2 inches back from the face frame) to minimize glare. For puck lights, space them 10-12 inches apart, centered under each cabinet section.
Step 2: Prep the Surface
Clean the cabinet undersides with isopropyl alcohol or degreaser. Adhesive won’t stick to grease or dust. Let it dry completely.
Step 3: Mount the Fixtures
For LED strips: Peel the backing and press firmly into place. If using aluminum channels, snap the channel onto pre-installed clips first, then lay the strip inside and snap the diffuser cover on top.
For puck lights or light bars: Mark screw holes with a pencil, drill pilot holes (1/16-inch bit), and drive screws. Some light bars use spring-loaded clips instead, slide them into the mounting brackets until they click.
Step 4: Run the Power Cable
Route the low-voltage wire from each fixture to the power supply location. Use adhesive cable clips along the inside edge of the cabinet to keep wires hidden. If cabinets are above a backsplash, tuck wires behind the cabinet frame where possible.
Connect fixture wires to the driver according to the manufacturer’s diagram (usually just matching positive to positive, negative to negative). Most systems use push-in connectors or screw terminals, no soldering required.
Step 5: Plug In and Test
Plug the power supply into an outlet (inside a cabinet or behind the fridge works well) and flip the switch. Check for even illumination and fix any loose connections.
Step 6: Secure and Conceal
Bundle excess wire with zip ties and tuck it out of sight. If your system includes a remote control or dimmer, mount it somewhere accessible but discreet.
Pro tip: Some plug-in systems can be hardwired later if you decide to eliminate the plug. Just cap the plug end and connect the low-voltage wires to a hardwired driver instead.
How to Install Hardwired Under Cabinet Lighting
Hardwired installations are cleaner, no visible cords, no plugs, but they require working with 120V household current. If you’re not comfortable with electrical work, hire a licensed electrician. Most jurisdictions require a permit for new circuits or junction box additions.
Step 1: Turn Off Power
Flip the breaker for the circuit you’ll be tapping into. Use a voltage tester on the wires to confirm power is off. This step is non-negotiable.
Step 2: Determine Your Power Source
Options include tapping into an existing outlet inside a cabinet, running a new line from the panel, or connecting to a switch-controlled circuit. The easiest route is often an outlet inside the cabinet above the one you’re lighting. If no outlet exists, you’ll need to fish wire from the panel or a nearby junction box. If you’re planning a comprehensive lighting upgrade, this is a good time to map the entire system.
Step 3: Install a Junction Box
Mount a junction box inside the cabinet or behind the toe kick where it’s accessible but hidden. Run 14/2 NM-B Romex from your power source to this box. Secure the cable with staples every 16 inches and within 8 inches of the box (per NEC requirements). Strip the sheathing, connect hot to hot (black), neutral to neutral (white), and ground to ground (bare copper), using wire nuts. Many DIYers reference electrical best practices when tackling unfamiliar wiring.
Step 4: Connect the Fixtures
Run low-voltage wire from the junction box to each light fixture. If using LED strips or puck lights, connect them to a hardwired driver (transformer) mounted inside the cabinet. Match wire colors and secure with wire nuts or connector blocks. For 120V linear bars, you can wire them directly (no driver needed), but follow the manufacturer’s wiring diagram precisely.
Step 5: Mount and Test
Mount fixtures as described in the plug-in section. Turn the breaker back on and test. If lights flicker, check for loose connections. If they don’t turn on at all, verify voltage at the junction box and recheck polarity.
Step 6: Install a Switch (Optional)
If your circuit isn’t already switched, install a wall switch or wireless remote. Wireless switches (battery-powered or kinetic) are easier to retrofit and don’t require cutting drywall.
Code notes: Some jurisdictions require GFCI protection for under cabinet lights if they’re within 6 feet of a sink. Check local codes or consult an electrician.
Troubleshooting Common Installation Issues
Even straightforward installs can hit snags. Here’s how to fix the most common problems.
Lights won’t turn on:
Check power at the source with a voltage tester. For plug-in systems, confirm the outlet is live. For hardwired systems, verify the breaker is on and connections are tight. If using a driver, make sure it’s rated for the total wattage of your fixtures, undersized drivers won’t power the full run.
Flickering or dimming:
Usually a voltage drop issue. LED strips longer than 16 feet often need power injected at both ends to maintain brightness. Check that wire gauge matches the run length (most low-voltage systems use 18 or 20 AWG: longer runs need thicker wire). Loose connections also cause flickering, re-seat all connectors.
Uneven light or dark spots:
For LED strips, this happens when the strip is cut at the wrong point. Only cut at marked intervals (usually every 2-4 inches with a scissor icon). For puck lights, adjust spacing or add additional fixtures. Diffuser lenses on light bars can yellow over time, replace them if they’re discolored.
Visible wires:
Use adhesive wire channels (available in white or aluminum finishes) or route wires through drilled holes inside cabinet walls. For really clean installs, run wires inside the cabinet box and exit through a small hole drilled near the fixture location.
Buzzing or humming:
Cheap drivers and incompatible dimmers cause this. Swap to a higher-quality driver or use a dimmer specifically rated for LEDs. Magnetic (triac) dimmers don’t play well with LEDs, look for electronic low-voltage (ELV) dimmers instead.
Adhesive won’t stick:
Temperature matters. Adhesive backing bonds poorly in cold conditions (below 50°F). Warm the surface with a hairdryer before applying, or use mechanical fasteners (clips or screws) instead. For stubborn surfaces, double-sided mounting tape (3M VHB) holds better than most factory adhesive.


