
String lights have evolved from temporary party decorations to permanent outdoor lighting fixtures that rival hardwired solutions. They’re low-voltage, simple to install, and transform a dull patio into an inviting nighttime gathering space. But stringing them randomly across a few posts won’t give you the polished look most homeowners want.
This guide covers 15 proven patio string light configurations, from overhead canopies to vertical installations, with real talk about wire gauge, attachment hardware, and electrical requirements. Whether you’re lighting a small deck or a sprawling covered patio, these ideas offer practical starting points that actually look intentional.
Table of Contents
ToggleKey Takeaways
- Patio string lights can transform an outdoor space into an inviting nighttime gathering area when installed using proper configurations like overhead canopies, bistro setups, or vertical displays rather than random placements.
- Standard 18-gauge commercial-grade string lights span up to 25 feet, but longer runs require guide wires and turnbuckles to prevent sagging and maintain structural integrity.
- Bistro lights with E26 sockets and 18–24 inch bulb spacing work best for modern patios and allow you to swap in dimmable LEDs, smart bulbs, or amber-tinted filaments later on.
- Vertical string light installations emphasize visual height and work especially well for narrow patios, but require lag screws or sleeve anchors to handle the full weight and wind load at attachment points.
- Solar-powered string lights deliver 6–8 hours of runtime in summer and 3–4 hours in winter, making them ideal for seasonal use but not for year-round primary outdoor lighting needs.
- All outdoor electrical connections require GFCI protection per NEC requirements, whether you install a permanent outlet or use a portable GFCI adapter plug.
Classic Overhead String Light Canopy
The overhead canopy remains the most popular configuration for a reason: it distributes light evenly across the entire patio surface and creates a defined “ceiling” that makes open spaces feel more intimate.
Start by identifying anchor points on opposite sides of your patio. For wood structures, attach screw-in eye hooks (minimum 3-inch penetration into solid framing members, not just fascia boards). For masonry or stucco, use galvanized expansion anchors rated for outdoor use. Space parallel runs 18 to 24 inches apart for adequate coverage without creating a cluttered look.
Wire gauge matters here. Standard 18-gauge commercial-grade string lights can span up to 25 feet without significant sag, but anything longer requires guide wires (vinyl-coated galvanized steel cable works well) to support the weight. Use turnbuckles at one end of each run to tension the lines after installation.
For deck string lighting ideas, this canopy method works especially well because most decks already have ledger boards and perimeter beams that provide solid attachment points. Just make sure you’re hitting actual structural members, not decorative trim.
Run calculations before buying: if your patio measures 12×16 feet and you’re spacing runs every 2 feet, you’ll need roughly 100 feet of lights plus slack for draping between attachment points.
Bistro Lights for Modern Minimalist Patios
Bistro lights, those larger Edison-style bulbs spaced farther apart, suit contemporary outdoor spaces better than dense micro-LED strands. They provide task-level illumination (enough to read a menu or prep food) without the visual clutter of traditional string lights.
Look for E26 socket strings with bulb spacing between 18 and 24 inches. The larger sockets accept standard medium-base bulbs, which means you can swap in dimmable LEDs, amber-tinted filament bulbs, or even smart bulbs later.
Installation is similar to canopy setups, but bistro lights require heavier-duty mounting hardware because each bulb weighs 2-4 ounces. Use lag hooks (not just screw eyes) anchored into joists or blocking. For concrete patio covers, you’ll need masonry anchors rated for at least 50 pounds per attachment point.
Consider a zigzag pattern rather than straight parallel runs for a less regimented look. Start from one corner, angle to the opposite side, then back again. This works particularly well on small patios where straight runs would create only one or two strands.
Power requirements: Most bistro light strings draw 0.5 to 1 watt per bulb. A 25-foot strand with 12 bulbs pulls roughly 12 watts total, you can run multiple strings from a single GFCI outlet without overloading a standard 15-amp circuit. Still, always verify your total load, especially if you’re also running outdoor lighting solutions like path lights or accent spots on the same circuit.
Vertical String Light Displays and Wall Installations
Vertical installations work best for narrow patios, courtyard settings, or when overhead mounting isn’t possible. They also add visual height, which helps small outdoor spaces feel less confined.
The simplest approach: mount a horizontal crossbeam or pole near the top of an exterior wall, then drop individual light strands vertically to create a curtain effect. Use cup hooks spaced 6 to 12 inches apart along the crossbeam. Each strand hangs independently, so they’ll sway slightly in the wind, this movement adds ambiance but can look chaotic if strands are too close together.
For a more structured vertical design, create a grid pattern using horizontal cable rails at 2-foot intervals. Weave string lights vertically through the grid to hold them in place. This method is popular for backyard string light ideas because it transforms a plain fence or wall into a focal point.
Safety note: Vertical installations put more stress on the top attachment points than horizontal runs. Each strand hangs its full weight plus wind load. Use lag screws into studs (for wood siding) or sleeve anchors into concrete or block walls.
Another option: install lights inside a DIY wooden frame built from 2×2 or 2×4 lumber. This self-supporting structure leans against a wall or fence and can be moved seasonally. Finish with exterior-grade stain or paint, and add decorative elements like lattice panels for visual interest.
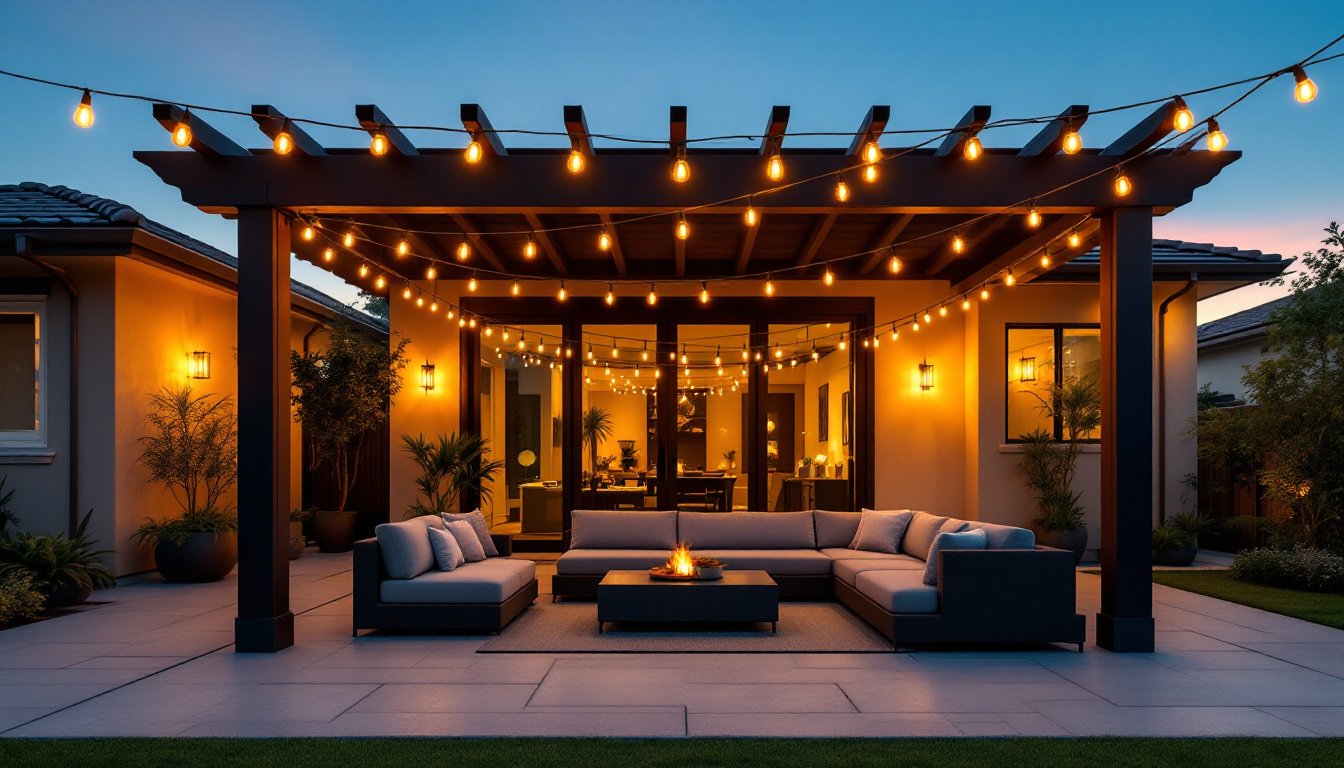
Pergola and Gazebo String Light Designs
Pergolas and gazebos offer built-in anchor points, making them the easiest structures to light. The key is choosing a pattern that complements the existing architecture rather than competing with it.
For traditional pergolas with parallel rafters, run lights perpendicular to the beams in straight lines. This emphasizes the structure’s geometry. Space runs every 12 to 18 inches for full coverage. Attach using outdoor-rated zip ties looped around each rafter, no drilling required, and you can adjust or remove lights later without leaving holes.
For more dramatic covered patio string lights ideas, try a wagon wheel or starburst pattern. Install a central mounting plate (a circular piece of plywood works) at the peak of a gazebo, then radiate light strands outward to the perimeter posts. This creates a chandelier effect and draws the eye upward.
Material consideration: Most pergola rafters are nominal 2×6 or 2×8 lumber. These members can support plenty of weight, but verify they’re structural-grade lumber, not decorative trim. If your pergola has a fabric canopy, lights should mount to the frame underneath, never attach directly to fabric, which can tear or melt.
For gable-roof gazebos, outline the roofline with lights to highlight architectural details. Use outdoor staple guns with insulated staples (the kind used for low-voltage landscape wire) to secure lights along trim boards. This method works best with smaller globe or fairy lights that conform to angles easily.
Creative String Light Shapes and Patterns
Beyond straight runs and canopies, creative patterns add personality without requiring advanced electrical work or structural changes.
Swag draping creates gentle curves between attachment points instead of taut lines. Allow 12 to 18 inches of slack per 10-foot span. This works well for casual outdoor entertainment spaces but requires more lights to cover the same linear distance.
Geometric patterns like diamonds or hexagons need precise planning. Sketch your design on graph paper first, measuring the exact distances between anchor points. For a diamond grid, you’ll need attachment points at regular intervals on all four sides of your patio. This setup uses more hardware and lights but produces a striking visual effect, especially when viewed from inside the house through patio doors.
Wrapped columns or posts transform structural elements into light features. Start at the base and spiral upward, securing every 8 to 12 inches with zip ties or outdoor-rated electrical tape. Use flexible micro-LED strings for tight wrapping around round columns.
Tree integration works if you have established trees near your patio. Wrap trunks and major branches, or suspend lights between tree limbs and patio structure. Critical safety rule: Never penetrate living tree bark with screws or nails. Use wide fabric straps or rubber-coated hooks that won’t girdle the tree as it grows.
For multi-level patios or deck designs with stairs, outline each level with lights to define zones and improve nighttime safety.
Smart and Solar-Powered String Light Solutions
Modern string lights integrate with home automation systems and eliminate the need for nearby electrical outlets, two upgrades worth considering before defaulting to traditional plug-in models.
Solar string lights have improved significantly in recent years. Look for models with separate solar panels (not integrated into the string) so you can position the panel in full sun while running lights in shaded areas. Quality solar lights use lithium-ion batteries that hold charge better than older nickel-cadmium versions.
Realistic expectations: solar lights provide 6 to 8 hours of runtime after a full day’s charge in summer, but only 3 to 4 hours in winter or cloudy conditions. They’re ideal for seasonal use or low-traffic areas but may disappoint for year-round primary lighting.
Smart string lights connect via Wi-Fi or Bluetooth to apps that control scheduling, dimming, and color changes. Most require a powered connection (not solar), but you gain automation features like sunset-triggered activation or integration with voice assistants.
For hardwired installations, consider installing an outdoor-rated smart switch or plug-in smart outlet instead of buying expensive smart bulbs. A $20 smart plug controlling standard LED string lights gives you most of the same functionality at lower cost.
Timer and dimmer options don’t require smart tech. Simple mechanical timers work reliably and cost under $15. In-line dimmers (installed between the plug and lights) let you adjust brightness manually, helpful when you want ambient lighting for conversation versus full brightness for outdoor dining.
Whichever route you choose, all outdoor electrical connections need GFCI protection per NEC requirements. If your patio doesn’t have a GFCI outlet, hire an electrician to install one or use a portable GFCI adapter plug. And remember that integrating sun protection and coordinated outdoor lighting creates a more functional space overall.
Conclusion
Patio string lights transform outdoor spaces with minimal electrical knowledge and modest budgets. The 15 approaches covered here range from simple overhead canopies anyone can install in an afternoon to complex geometric patterns that require careful planning. Start with proper mounting hardware, calculate your electrical load, and don’t skip the GFCI protection. The result is a well-lit patio that extends your usable outdoor hours well into the evening.


