
Wall sconces aren’t just about throwing light where a lamp can’t reach, they’re about making a statement. In 2026, homeowners are ditching cookie-cutter fixtures for sconces that double as functional art. Whether it’s an industrial pipe design in the hallway or a sculptural brass piece flanking the bathroom mirror, unique wall sconces bring character to spaces that overhead lighting can’t touch. This guide walks through what makes a sconce stand out, which styles are worth the investment, and how to install them without hiring an electrician (or when you absolutely should).
Table of Contents
ToggleKey Takeaways
- Unique wall sconces bring functional art to your home through distinctive materials like reclaimed wood, hammered copper, and hand-blown glass that go beyond standard builder-grade fixtures.
- Proper installation height varies by room—hallways require 60-66 inches from floor, bathroom mirrors 60-70 inches, and bedside reading sconces 48-54 inches for optimal lighting without glare.
- Industrial and sculptural unique wall sconce styles work best as focal points; industrial designs suit lofts and farmhouses while artistic pieces should be installed singly or in pairs to avoid a cluttered appearance.
- DIY installation is possible for hardwired sconces if you follow proper safety protocols, though heavy fixtures over 5 pounds require studs or heavy-duty anchors, and bathroom installations need damp-location-rated fixtures.
- Always verify electrical code compliance, especially in bathrooms (NEC Article 410), and call a professional electrician for circuit additions, permit requirements, or older home wiring systems like knob-and-tube.
- LED bulb compatibility and color temperature (2700K-3000K for warm brass tones, 4000K+ for cool geometric designs) should be confirmed before purchase since many modern sconces feature integrated LEDs that can’t be swapped.
What Makes a Wall Sconce ‘Unique’?
A unique wall sconce breaks the mold of standard builder-grade fixtures. It’s not the basic dome light or generic brass arm found in every apartment complex.
Material choice plays a big role. Think reclaimed wood backplates, hammered copper shades, or hand-blown glass globes. Mass-produced sconces use stamped steel or injection-molded plastic: unique fixtures often incorporate artisan techniques or unexpected materials like concrete, rope, or Edison-style exposed filaments.
Shape and silhouette matter just as much. A standard sconce is symmetrical and predictable. Unique designs might feature asymmetrical arms, geometric cages, or organic forms that mimic branches or coral. Some fixtures skip the shade entirely, turning the bulb itself into the design element.
Functionality can also distinguish a sconce. Swing-arm models, dimmable LED strips integrated into metal frames, or decorative lighting with adjustable color temperature give users control beyond a simple on/off switch. If the sconce does something beyond “point light at wall,” it’s probably got some uniqueness baked in.
Finally, provenance and production scale separate the unique from the generic. Limited-run designs from small studios, vintage fixtures from architectural salvage yards, or custom-built pieces from local metalworkers all carry a one-of-a-kind quality that big-box retailers can’t replicate. If you can find the same fixture in a dozen chain stores, it’s not unique, no matter what the marketing copy says.
Top Unique Wall Sconce Styles for Modern Homes
Industrial and Steampunk-Inspired Sconces
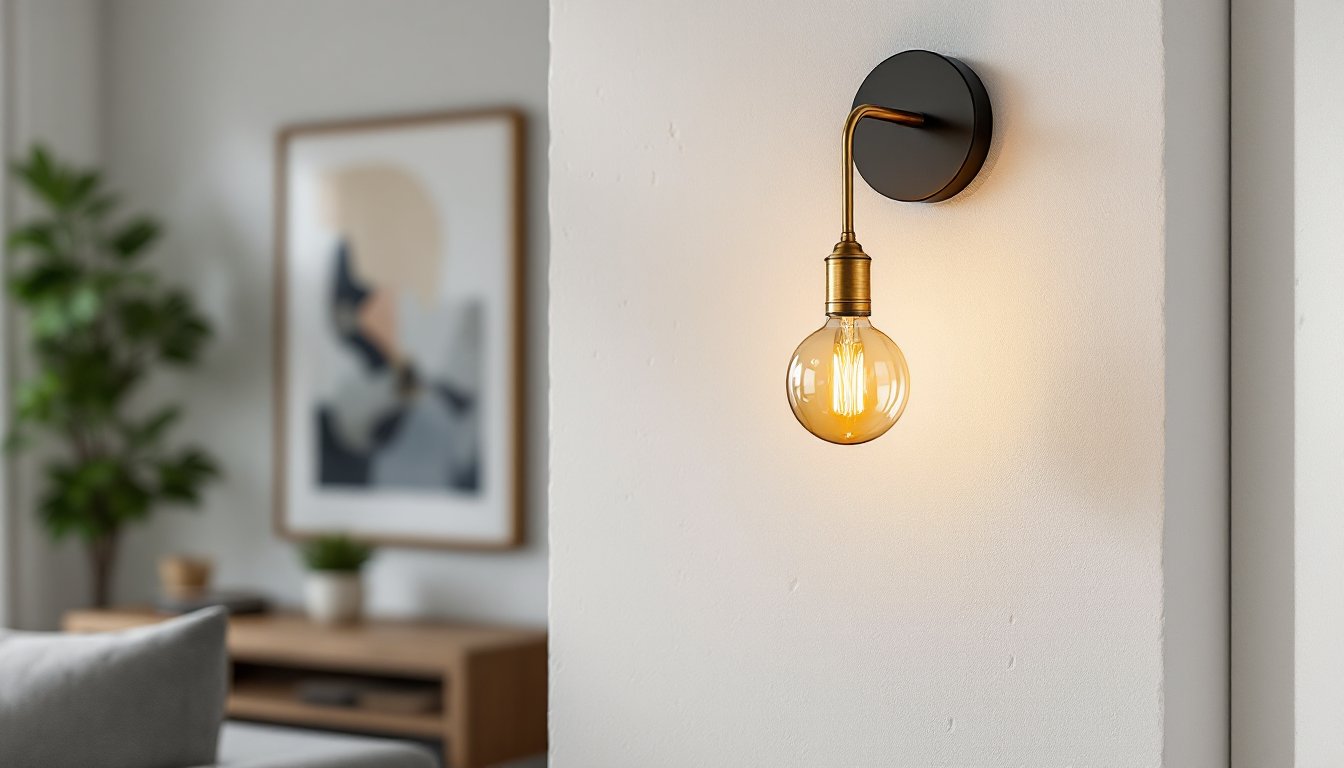
Industrial sconces lean into raw materials and utilitarian design. Black iron pipe fittings, exposed Edison bulbs (40-60W equivalent LED for safety and energy efficiency), and wire cages give these fixtures a warehouse aesthetic that works in lofts, man caves, and modern farmhouse kitchens.
Steampunk takes industrial a step further with brass gears, valve handles as switches, and patina finishes that look like they came off a 19th-century steam engine. These aren’t subtle. They demand attention and pair best with brick, reclaimed wood, or concrete walls.
Installation note: Many industrial-style sconces are heavy, 5 to 10 pounds or more with the bulb. Make sure you’re anchoring into a wall stud or using heavy-duty toggle bolts rated for the weight. A standard drywall anchor won’t cut it, and you don’t want a 7-pound pipe fixture crashing down at 2 a.m.
Steampunk fixtures sometimes use antique wiring or non-standard sockets. If you’re buying vintage or replica pieces, verify they’re UL-listed or have been rewired to meet current electrical codes. Nostalgia is great: electrical fires are not.
Artistic and Sculptural Designs
Sculptural sconces blur the line between lighting and wall art. Imagine a sconce shaped like a bird mid-flight, its wing forming the shade. Or a brass spiral that looks like a modern art installation until you flip the switch.
Materials here get creative: ceramic, hand-forged steel, resin, or even 3D-printed geometric shapes. Some designers incorporate natural elements, driftwood arms, stone bases, or shades woven from rattan.
These fixtures work best as focal points. Install one on either side of a fireplace, above a console table in an entryway, or flanking a feature wall in the bedroom. Don’t cluster too many sculptural pieces in one room, or the effect gets busy instead of bold.
Color temperature matters with artistic sconces. A warm white bulb (2700K-3000K) complements brass, copper, and wood tones. Cooler white light (4000K+) works with chrome, white ceramic, or minimalist geometric designs. Many sculptural sconces use integrated LEDs, so check the Kelvin rating before buying, you can’t swap the bulb later if you hate the color.
For inspiration on how designers are using artistic lighting in contemporary spaces, sites like Design Milk showcase cutting-edge fixtures that push creative boundaries.
Where to Install Unique Wall Sconces for Maximum Impact
Placement makes or breaks a sconce installation. The wrong height or spacing turns a statement piece into a clumsy afterthought.
Hallways and staircases are sconce territory. Install them 60-66 inches from the floor to the center of the fixture, roughly eye level for most adults. Space multiple sconces 8-10 feet apart for even lighting. In stairwells, mount them so the light doesn’t create harsh shadows on the steps: angling slightly downward helps.
Bathrooms benefit from sconces flanking the mirror. Mount them 60-70 inches off the floor, positioned so the light hits your face evenly (not casting shadows under your eyes). Avoid placing a single sconce above the mirror unless you enjoy looking like a villain in a horror movie. The National Electrical Code (NEC) requires bathroom fixtures within certain zones to be rated for damp or wet locations, check Article 410 if you’re installing near a shower or tub.
Living rooms and bedrooms use sconces for task lighting or ambiance. Mount reading sconces 48-54 inches from the floor next to a bed or chair, high enough to light a book without glare. Accent sconces highlighting wall decor can go higher or lower depending on what you’re illuminating.
Dining areas sometimes use sconces as an alternative or supplement to a chandelier. Install them on opposite walls at the same height (again, 60-66 inches) for balanced lighting. Dimmer switches are non-negotiable here, nobody wants interrogation-level brightness at dinner.
One critical rule: if you’re mounting a sconce on an exterior wall or in an unheated space, account for insulation and vapor barriers. Cutting into an exterior wall for a junction box can create thermal bridging or moisture problems if not done right. When in doubt, hire a licensed electrician, especially if local codes require a permit for new electrical work.
How to Choose the Right Unique Wall Sconce for Your Room
Start with the room’s purpose. A bedroom sconce needs a different light output than a hallway fixture. Look at lumens, not watts, an LED sconce producing 400-800 lumens works for ambient or accent lighting, while 800-1500 lumens suits task lighting like reading or grooming.
Scale matters. A 4-inch-wide sconce looks ridiculous on a 12-foot wall: a 16-inch fixture overwhelms a narrow hallway. As a rough guide, the sconce width should be about 1/4 to 1/3 the width of the furniture or feature it’s lighting. For hallways, stay under 10 inches wide to avoid head-bumping hazards.
Match or contrast finishes intentionally. If your door hardware, faucets, and cabinet pulls are brushed nickel, a brass sconce can either look chic (if the room has other warm metals) or random (if it’s the only brass element). Mixing metals works when there’s a deliberate pattern, two finishes max, repeated throughout the space.
Wiring type affects installation. Hardwired sconces require a junction box and an electrician if you’re not confident working with live wires. Plug-in sconces are easier to install but limit placement to areas near outlets. Some newer models use battery-powered LEDs, great for renters or spaces without electrical access, but you’ll be swapping batteries or recharging every few months.
Bulb compatibility is non-negotiable. Check if the sconce requires a specific bulb type (candelabra base, E26 standard, GU10 pin base, etc.). Integrated LED sconces eliminate bulb shopping but can’t be upgraded if the LED fails, usually a 10-15 year lifespan, but worth considering.
For rooms where lighting sets the entire aesthetic, exploring various lighting solutions can help coordinate sconces with overhead and task lighting.
DIY Installation Tips for Wall Sconce Lighting
Before you start: Turn off power at the breaker, not just the wall switch. Use a non-contact voltage tester to confirm the wires are dead. Wear safety glasses, drywall dust and wire snips have a way of finding your eyes.
Tools you’ll need:
- Drill with bits (1/2-inch for cable, appropriate size for screw anchors)
- Wire stripper/cutter
- Screwdriver set (Phillips and flathead)
- Stud finder (magnetic or electronic)
- Level (2-foot minimum)
- Voltage tester
- Drywall saw (if cutting new boxes)
Materials:
- Junction box (old-work box if retrofitting, rated for fixture weight)
- Wire nuts (typically 12-14 gauge)
- Romex cable (14/2 or 12/2, depending on circuit)
- Screws and anchors (if not mounting to studs)
Step-by-step:
-
Mark sconce location. Use the level to ensure it’s straight and at the correct height. Mark the center of the junction box.
-
Install the junction box. If there’s no existing box, trace the box outline and cut with a drywall saw. For heavy sconces (over 5 pounds), use a metal old-work box with adjustable ears or a remodel box with clamps that grab the back of the drywall. Plastic boxes are fine for lightweight fixtures.
-
Run cable to the box. If you’re adding a new sconce, you’ll need to run 14/2 or 12/2 Romex from an existing switch or power source. This often means fishing wire through walls, doable with patience and a fish tape, but messy. Know your limits. If you’re punching through multiple studs or running wire across floors, consider calling a pro.
-
Strip and connect wires. Strip about 1/2 inch of insulation from each wire. Connect black (hot) to black, white (neutral) to white, and ground (bare copper or green) to the grounding screw on the box. Twist wires clockwise, then screw on wire nuts. Tug each connection to confirm it’s solid.
-
Attach the sconce mounting bracket. Most sconces use a crossbar or round pancake box cover that screws into the junction box. Secure it with the provided screws.
-
Hang the fixture. Thread the sconce wires through the bracket, connect them to the house wires (again: black to black, white to white, ground to ground), and fold everything neatly into the box. Secure the sconce canopy to the bracket with screws or cap nuts.
-
Install the bulb and test. Screw in the bulb (check wattage limits, most sconces max out at 60W equivalent), restore power at the breaker, and flip the switch. If it doesn’t light up, turn the breaker back off and recheck connections.
When to call a professional:
- You’re installing sconces on a circuit that already trips occasionally (sign of an overloaded or faulty circuit).
- The existing wiring is knob-and-tube or aluminum (common in older homes, requires special handling).
- You need to run new circuits or add a switch.
- Local codes require a permit and inspection, many jurisdictions do for new electrical work, even DIY.
Safety note: If you’re installing sconces in a bathroom or other damp location, verify the fixture is rated for that environment (look for a UL listing for damp or wet locations). Water and electricity don’t negotiate.
For those interested in broader lighting upgrades, checking out ideas on sites like Decoist can provide context on how sconces fit into modern interior design schemes. Similarly, if you’re updating kitchen lighting alongside wall sconces, resources such as track lighting designs offer complementary approaches.
If you’re drawn to rustic aesthetics, pairing unique sconces with farmhouse lighting elements creates a cohesive look. Alternatively, sourcing fixtures from antique lighting suppliers adds authentic character that mass-produced sconces can’t match.
Final tip: Test-fit the sconce before you make final wire connections. Some fixtures have tight canopies that don’t leave much room for wire nuts and folded cable. If the sconce won’t sit flush, you may need a shallower junction box or need to trim excess wire (leave at least 6 inches of wire extending from the box per NEC standards).


