
A well-lit landscape doesn’t just happen, it requires consistent timing, seasonal adjustments, and the discipline to flip switches twice a day. That’s where a landscape lighting timer changes the game. Instead of manually controlling outdoor lights, a timer automates the entire process, keeping pathways lit for safety, highlighting architectural features after dark, and deterring unwanted visitors without lifting a finger. Whether upgrading an existing low-voltage lighting system or installing new fixtures, choosing and installing the right timer ensures reliability, energy efficiency, and control over the outdoor environment.
Table of Contents
ToggleKey Takeaways
- A landscape lighting timer automates outdoor lights to improve home security, reduce energy waste, and ensure safe illumination of pathways and entryways without manual operation.
- Choose between mechanical timers for simplicity, digital timers for precision, or smart timers for remote control and seasonal adjustments via app or voice commands.
- Install your landscape lighting timer between the power source and transformer, ensuring proper weatherproofing, correct wattage rating, and compliance with electrical safety codes like UL or ETL certification.
- Pair your landscape lighting timer with a photocell sensor for true dusk-to-dawn automation, or set a fixed shut-off time to balance convenience with energy efficiency.
- Program digital and smart timers with multiple schedules, random modes for security simulation, and seasonal adjustments to account for shifting sunset times throughout the year.
- Maintain your timer system quarterly by inspecting connections, cleaning photocell sensors, and replacing batteries to ensure reliable, consistent performance year-round.
What Is a Landscape Lighting Timer and Why You Need One
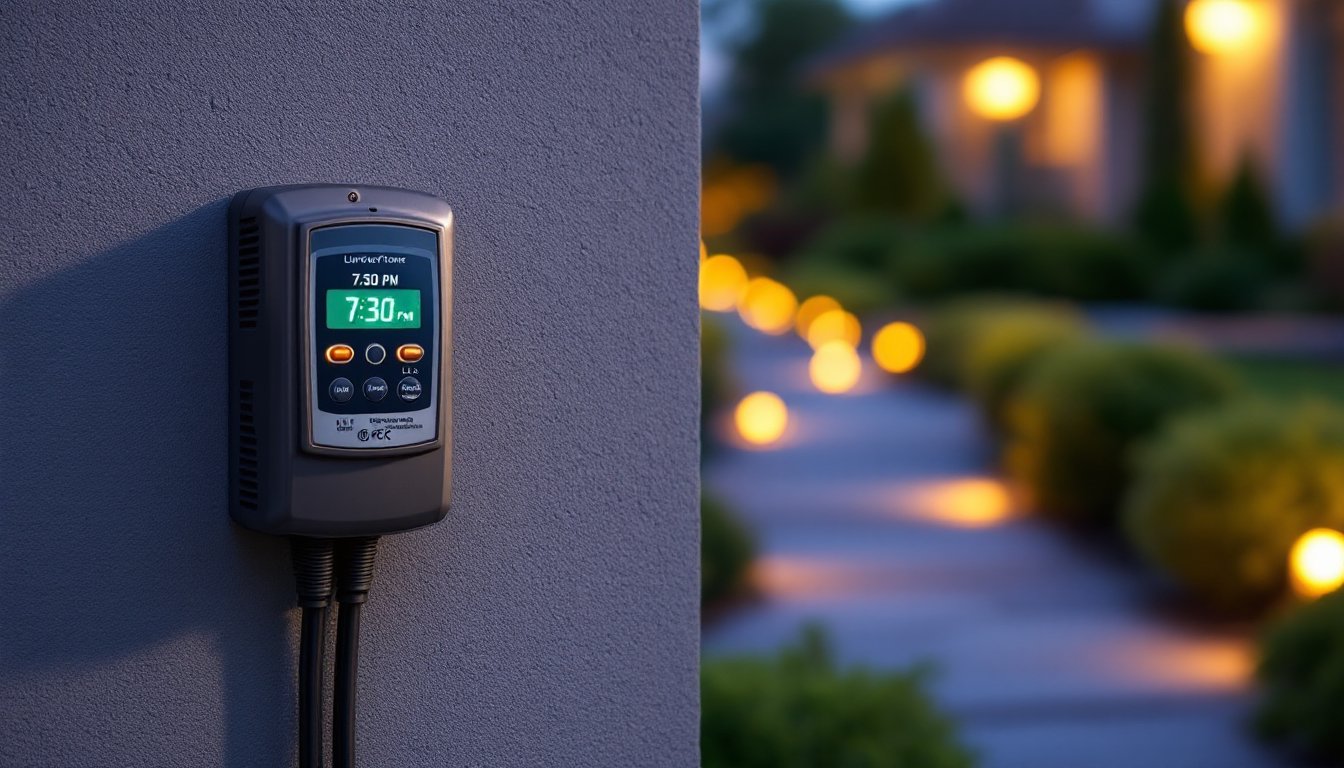
A landscape lighting timer is a device that automatically turns outdoor lighting on and off according to a preset schedule. It connects between the power source and the transformer (for low-voltage systems) or directly to line voltage fixtures (for 120V systems). Most residential landscape lighting runs on 12V or 15V low-voltage systems, powered by a transformer that steps down household 120V current.
Timers eliminate the need for manual operation, which means lights activate at dusk and shut off at a predetermined hour, usually late night or dawn. This consistency improves home security by creating the appearance of occupancy and ensures walkways, driveways, and entryways remain safely illuminated.
Beyond convenience, timers reduce energy waste. Leaving landscape lights on all night when no one’s outside burns through electricity and shortens bulb life, especially with halogen or incandescent fixtures. LED landscape lighting is more forgiving, but a timer still prevents unnecessary runtime. Some insurance providers even recognize automated exterior lighting as a risk-reduction measure, potentially lowering premiums.
Another practical benefit: seasonal adjustment. Sunset times shift dramatically throughout the year, a timer set for 6 PM in December will turn lights on in broad daylight by June. Modern digital and smart timers account for this with automatic daylight-saving adjustments or built-in photocells that detect ambient light levels.
Types of Landscape Lighting Timers for Your Outdoor Space
Mechanical vs. Digital Timers
Mechanical timers use a rotating dial with push pins or tabs that correspond to 15- or 30-minute intervals over a 24-hour cycle. Tabs are pushed in for “on” periods and left out for “off.” They’re inexpensive (typically $10–$25), require no programming knowledge, and don’t lose settings during a power outage, the dial keeps rotating via a small motor. The downside? They’re imprecise, noisy (you can hear the ticking), and don’t account for seasonal light changes. They work fine for simple setups where the homeowner manually adjusts the dial every few months.
Digital timers offer programmable schedules down to the minute, often with multiple on/off cycles per day. They range from $20 to $60 and include features like a battery backup (to retain programming during outages), random mode (to simulate occupancy), and countdown timers. Digital models suit homeowners who want precision and flexibility without moving into smart-home territory. The downside: they require manual reprogramming for daylight saving time unless equipped with an automatic adjustment feature.
Smart Timers and Photocell Options
Smart timers connect to Wi-Fi or Bluetooth, allowing control via smartphone apps or voice assistants like Alexa or Google Assistant. They support geofencing (lights turn on when the homeowner’s phone approaches), scheduling by sunrise/sunset times based on GPS location, and integration with broader home automation systems. Prices range from $40 to $150. For outdoor use, confirm the smart timer or its connected smart plug is rated IP64 or higher for weather resistance. Several outdoor smart plugs integrate seamlessly with landscape lighting systems and offer scheduling features.
Photocell (dusk-to-dawn) sensors detect ambient light and trigger lights automatically when darkness falls. They’re often built into transformers or can be added inline. Photocells eliminate the need for time-based programming and adjust naturally with the seasons. But, they don’t allow for shut-off before dawn, lights stay on until sunrise, which can waste energy. Many installers pair a photocell with a timer: the photocell turns lights on at dusk, and the timer shuts them off at a set hour (e.g., midnight). This hybrid approach balances automation and efficiency.
How to Choose the Right Timer for Your Landscape Lighting System
Start by identifying the total wattage of the lighting system. Add up the wattage of all connected bulbs and verify the transformer capacity. Most residential landscape transformers range from 150W to 600W. The timer must handle the total load, check the device specs for maximum wattage or amperage rating. For low-voltage systems, timers typically rate for 15 amps at 120V, which translates to roughly 1,800W, more than enough for most setups.
Next, consider the installation environment. If mounting the timer outdoors (rather than inside a garage or shed), it needs a weatherproof enclosure rated NEMA 3R or higher. Some timers come with built-in weatherproof housings: others require a separate outdoor-rated box. Moisture, temperature swings, and UV exposure degrade electronics quickly without proper protection.
Decide between manual, programmable, or smart control. Mechanical timers suit straightforward on/off schedules and minimal adjustment. Digital timers fit users comfortable with programming but not interested in app-based control. Smart timers make sense for tech-savvy homeowners, those integrating with existing smart-home ecosystems, or anyone who travels frequently and wants remote control. Be aware that smart timers require stable Wi-Fi coverage at the installation location, outdoor transformers in sheds or far corners of the yard may be out of range.
Evaluate the importance of a photocell. In regions with significant seasonal daylight variation, using a lighting layout tool to map coverage alongside a timer with photocell integration simplifies maintenance. If the goal is energy savings and the homeowner is fine with lights turning off at a fixed hour, a timer with no photocell works. If convenience and true dusk-to-dawn automation matter, look for a built-in or compatible photocell.
Finally, check for certifications. Look for UL or ETL listing on the timer, which indicates it meets safety standards for electrical devices. This is especially important for devices handling 120V current. Some jurisdictions require listed devices for code compliance.
Installing Your Landscape Lighting Timer: A Step-by-Step Guide
Before beginning any electrical work, turn off power at the breaker. Verify it’s off with a non-contact voltage tester.
Tools and materials:
- Landscape lighting timer (matched to system load)
- Screwdriver (flat and Phillips)
- Wire stripper/cutter
- Wire nuts or connectors (if not included)
- Weatherproof enclosure (if timer isn’t outdoor-rated)
- Non-contact voltage tester
- Safety glasses
Step-by-step installation:
-
Locate the transformer. Most low-voltage landscape lighting transformers are mounted near an outdoor GFCI outlet, inside a garage, or in a weatherproof box. The timer will install between the outlet and the transformer’s primary (120V) input.
-
Unplug or disconnect the transformer. If hardwired, turn off the dedicated breaker and disconnect the transformer’s supply wires at the junction box. Use the voltage tester to confirm no current.
-
Mount the timer. If using a plug-in timer, insert it into the GFCI outlet and plug the transformer into the timer. For hardwired setups, mount the timer in an accessible location (inside an electrical box or weatherproof enclosure) and connect according to the timer’s wiring diagram. Typically, this involves connecting the incoming hot (black) and neutral (white) wires to the timer’s “line” terminals, and the outgoing wires to the transformer’s input to the timer’s “load” terminals. Ground (green or bare copper) wires connect together with a wire nut and pigtail to the timer’s ground screw if present.
-
Secure all connections. Use wire nuts rated for outdoor use if the timer is outdoors. Ensure no bare copper is exposed. Tug gently on each connection to verify it’s tight.
-
Restore power. Turn the breaker back on or plug in the timer. The timer should power up. If it’s digital or smart, follow the manufacturer’s instructions to set the clock and program the first schedule.
-
Test the system. Manually activate the timer (most have an override or test button) to confirm the lights turn on. Check all fixtures to ensure they’re receiving power. If some lights don’t turn on, troubleshoot connections at the transformer’s low-voltage terminals or individual fixture wiring.
Important considerations:
- If installing a timer on a circuit shared with other devices, ensure the total load doesn’t exceed the circuit breaker rating (typically 15A or 20A for residential 120V circuits).
- For complex hardwired installations or if the existing setup lacks GFCI protection outdoors, consider hiring a licensed electrician. The National Electrical Code (NEC) requires GFCI protection for outdoor receptacles and some lighting circuits.
- Many smart outdoor plugs simplify installation by eliminating hardwiring, just plug the transformer into the smart plug and control via app.
Programming and Optimizing Your Timer Settings
Once installed, effective programming maximizes the timer’s benefits. For mechanical timers, set the current time by rotating the dial until the arrow aligns with the present hour. Press in tabs for the desired “on” window, for example, tabs from 6 PM to 11 PM. Adjust the dial seasonally as sunset times shift.
For digital timers, enter the current time and day (if applicable). Most units support multiple programs: a common setup is one schedule for weekdays and another for weekends when extended lighting is desired. Program the “on” time slightly before dusk and the “off” time when activity ends, often between 10 PM and midnight for front yards, later for backyards with evening use. Many digital timers include a “random” or “vacation” mode that varies on/off times by a few minutes daily, enhancing security by simulating irregular occupancy.
Smart timers offer the most flexibility. Use the app to set schedules based on local sunrise/sunset times, which update automatically as seasons change. Geofencing can turn lights on when the homeowner arrives home after dark. Voice commands via Alexa or Google Assistant provide manual overrides without touching the device. Integration with other smart-home routines, like turning on landscape lights when the front door unlocks, adds convenience. Be sure to update firmware periodically via the app: manufacturers often release updates that improve connectivity and add features, which keeps lighting solutions running smoothly.
Safety and maintenance tips:
- Inspect timer and connections quarterly, especially after severe weather. Look for corrosion, moisture intrusion, or loose wires.
- Replace mechanical timer motors every 3–5 years: they wear out and can cause erratic operation.
- For photocell-equipped systems, clean the sensor lens annually. Dirt and cobwebs reduce sensitivity, causing lights to turn on too early or not at all.
- If using a timer with battery backup, replace the battery every 1–2 years to maintain programming during power outages.
- Test GFCI outlets monthly by pressing the “test” button: reset if the outlet trips.
By selecting the right timer type, installing it correctly, and programming it to match seasonal and lifestyle needs, homeowners gain reliable, energy-efficient control over landscape lighting. Whether it’s a basic mechanical dial or a Wi-Fi-enabled smart timer, automation transforms outdoor lighting from a chore into a seamless part of home security and curb appeal.


