
Getting recessed lighting placement wrong means shadows where you need brightness, hot spots that wash out colors, and fixtures that highlight all the wrong things. A free recessed lighting calculator takes the guesswork out of spacing, helps you buy the right number of cans, and gives you a layout that electricians can actually work from. Whether you’re lighting a kitchen remodel or finishing a basement, a solid plan beats eyeballing it every time. This guide walks through how to use a calculator, what factors matter most, and the mistakes that trip up most DIYers.
Table of Contents
ToggleKey Takeaways
- A free recessed lighting calculator uses room dimensions, ceiling height, and fixture type to generate an even spacing layout, preventing dark corners, hot spots, and unnecessary over-buying of fixtures.
- The standard spacing formula is ceiling height ÷ 2 for fixture spacing, with wall placement at half that distance—an 8-foot ceiling requires 4-foot spacing and 2-foot wall clearance to avoid shadows.
- Ceiling height, room function, and obstructions are critical factors; kitchens need 70–80 lumens per square foot with 4-foot spacing, while living rooms require less density but benefit from dimmers for flexibility.
- IC-rated housings are mandatory in insulated ceilings, junction boxes are required for safe connections, and LED dimmer compatibility must be verified to prevent flickering and bulb failure.
- Common mistakes—such as placing lights too close to walls, mixing beam angles randomly, and cutting holes before checking for obstructions—can lead to expensive rework and unsafe installations.
- A calculated lighting plan saves time with electricians, reduces change orders, simplifies permit applications, and lets you experiment with fixture types before making final purchases.
Why Use a Recessed Lighting Calculator?
Recessed lighting calculators do the math so you don’t have to. They account for room dimensions, ceiling height, beam spread, and fixture output to generate a spacing plan that delivers even illumination without dark corners or glare.
Without a calculator, most people space fixtures by gut feel, usually too far apart or clustered unevenly. That leads to dim zones near walls, over-lit center areas, and wasted fixtures. A calculator prevents over-buying (cans and housings run $15–$50 each, plus labor) and under-lighting, which means tearing into finished ceilings later.
Calculators also help with code compliance. While recessed lighting itself doesn’t usually trigger electrical permits in many jurisdictions, any new wiring or circuit work does. A clear layout makes permit applications cleaner and helps inspectors see you’ve planned for proper load distribution. If you’re hiring an electrician, handing them a calculated plan instead of a sketch on a napkin saves time and reduces change orders.
Finally, calculators let you experiment with different fixture types, 4-inch vs. 6-inch cans, narrow vs. wide beam spreads, before you buy. Changing your mind after drywall is patched gets expensive fast.
How to Use Our Free Recessed Lighting Calculator
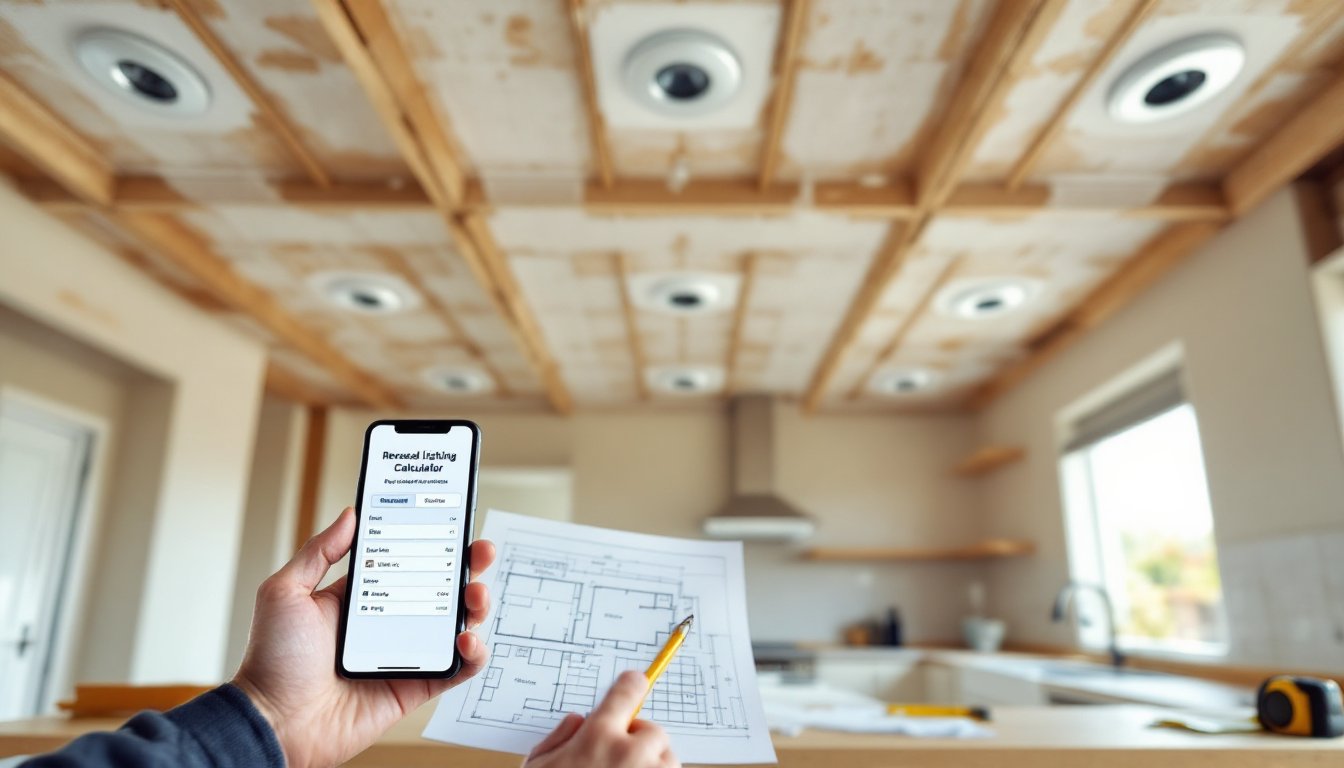
Most recessed lighting calculators ask for four inputs: room length, room width, ceiling height, and fixture type. Enter dimensions in feet, and the calculator spits out a recommended fixture count and spacing grid.
Start by measuring your room. Use actual dimensions, not nominal, if your kitchen is 12 feet 3 inches by 15 feet 9 inches, round to the nearest half-foot for the calculator but keep precise measurements for installation. Ceiling height matters because the higher the ceiling, the wider the beam spread at floor level, which affects spacing.
Next, select your fixture size. 4-inch cans work for accent lighting, hallways, and tight spaces. 6-inch cans are the workhorse for general lighting in kitchens, living rooms, and bedrooms. Some calculators also ask for bulb type (LED integrated vs. retrofit trim) and beam angle, narrow (25–35°) for task lighting, medium (40–60°) for general use, and wide (80–120°) for ambient lighting.
The calculator outputs a grid showing fixture locations, typically measured from walls and between fixtures. Many professionals use lighting layout tools to visualize these placements in 3D before cutting holes.
Understanding the Spacing Formula
The standard spacing formula is ceiling height ÷ 2 = spacing between fixtures. For an 8-foot ceiling, that’s 4 feet between cans. For a 10-foot ceiling, it’s 5 feet. This rule applies to general lighting with medium beam spreads.
Wall spacing is typically half the fixture spacing. If cans are 4 feet apart, place the first row 2 feet from the wall. This prevents the “dark ring” effect where perimeter areas fall into shadow.
The formula adjusts for beam angle. Narrow beams need closer spacing to avoid gaps. Wide beams can stretch farther but may create overlapping hot spots if placed too close. Higher-lumen fixtures (900+ lumens per can) can also be spaced slightly wider, but don’t push it, uneven lighting is hard to fix without adding more fixtures.
Key Factors That Affect Recessed Lighting Placement
Ceiling height is the biggest variable. Standard 8-foot ceilings use tighter spacing than 10- or 12-foot ceilings. For ceilings above 12 feet, consider larger fixtures (8-inch housings) or higher-lumen bulbs to maintain coverage. Sloped and vaulted ceilings need adjustable housings and may require angled trims to aim light where it’s needed.
Room function dictates fixture density. Kitchens need more light (50–75 lumens per square foot) than living rooms (20–30 lumens per square foot). Bathrooms, especially over vanities, benefit from closely spaced cans to eliminate shadows. Home offices need task lighting over desks, which means denser spacing in work zones.
Obstructions throw off calculator results. Ceiling joists, ductwork, and plumbing can force you to shift fixtures. Before finalizing a layout, check joist direction, if running perpendicular to your planned row, you’ll need remodel housings that clip to drywall instead of nailing between joists. For new construction, coordinate with framers so blocking gets added where you need it.
Existing wiring and circuit capacity matter. A typical 15-amp circuit can handle about 12–15 LED recessed lights (assuming 10 watts per fixture). If you’re adding more, you’ll need a dedicated circuit. Hire a licensed electrician for anything involving panel work, DIY electrical beyond fixture swaps is risky and often violates local codes.
Furniture layout should inform placement. Don’t center a row of lights over where your couch will sit, you’ll get glare. Instead, plan lighting around traffic paths, seating areas, and architectural features.
Room-by-Room Recessed Lighting Recommendations
Kitchens: Use 6-inch cans on a grid, spaced 4 feet apart. Add a dedicated row 18–24 inches from the front edge of cabinets to light countertops without shadows. Aim for 70–80 lumens per square foot. Avoid placing lights directly over the sink unless you want glare, offset slightly or use under-cabinet lighting instead. Many homeowners consult renovation planning resources to estimate total project costs before starting.
Living rooms: Go with 5–6 foot spacing for ambient lighting. Layer with table lamps and floor lamps for flexibility. If you have a fireplace or feature wall, place a fixture 12–18 inches out to graze the surface with light. Dimmable LEDs are a must, you don’t want interrogation-room brightness during movie night.
Bathrooms: Use 4-inch cans in small powder rooms, 6-inch in master baths. Place two fixtures over the vanity, centered on the mirror, about 30 inches apart. Add a fixture over the shower or tub (must be IC-rated and wet-location approved). Avoid placing lights directly overhead in front of mirrors, it casts unflattering shadows.
Bedrooms: Aim for 30–40 lumens per square foot. Space fixtures 5–6 feet apart. Keep lights away from the head of the bed unless you enjoy being blinded when you wake up. Use a dimmer switch or smart bulbs for adjustable ambiance.
Basements and hallways: 4-foot spacing works well. For long hallways, a single centered row is usually enough. In basements with lower ceilings (7 feet or less), use shallower remodel housings to fit between joists.
Home offices: Prioritize task lighting over desks. Use 4-foot spacing with fixtures slightly forward of where you sit to avoid screen glare. Supplement with desk lamps for focused work.
Common Recessed Lighting Layout Mistakes to Avoid
Ignoring insulation contact (IC) ratings: Non-IC housings can’t touch insulation. If your ceiling is insulated (and it should be), you need IC-rated cans. Using the wrong type is a fire hazard and a code violation. Always check the housing label before installation.
Skipping the junction box: Recessed lights need a separate junction box for connections unless the housing is rated for direct wiring. Don’t bury wire nuts in the ceiling, it’s unsafe and illegal under NEC Article 314.
Placing lights too close to walls: The “spotlight effect” happens when fixtures sit 6–12 inches from walls. Light hits at a sharp angle, emphasizing texture and casting harsh shadows. Stick to the half-spacing rule, if fixtures are 4 feet apart, place them 2 feet from walls.
Mixing beam angles randomly: Don’t throw narrow, medium, and wide beams into the same room without a plan. Stick to one beam angle for general lighting, then use narrower beams for accents if needed. Mismatched beams create uneven lighting that looks amateurish.
Forgetting about dimmer compatibility: Not all LED bulbs play nice with all dimmers. Check the bulb spec sheet and use a compatible LED dimmer, older incandescent dimmers cause flickering, buzzing, and early bulb failure. Many project cost estimators include dimmer switches in material budgets, so factor that in upfront.
Cutting holes before checking for obstructions: Always probe the ceiling with a stud finder or drill a small test hole before cutting a 6-inch opening. Hitting a joist, duct, or wire means patching drywall and starting over. For help estimating repair materials, drywall calculators to avoid over-ordering.
Over-lighting the room: More isn’t always better. Too many fixtures create glare, waste energy, and make spaces feel clinical. Stick to the calculator’s recommendation and use dimmers to dial intensity up or down.
Conclusion
A recessed lighting calculator removes the trial-and-error from layout planning, saving time, materials, and the headache of uneven lighting. Measure carefully, factor in ceiling height and room function, and don’t skip the details like IC ratings and dimmer compatibility. Whether you’re tackling the install yourself or handing a plan to an electrician, a solid layout sets the project up for success.


